
Easy DIY Candles
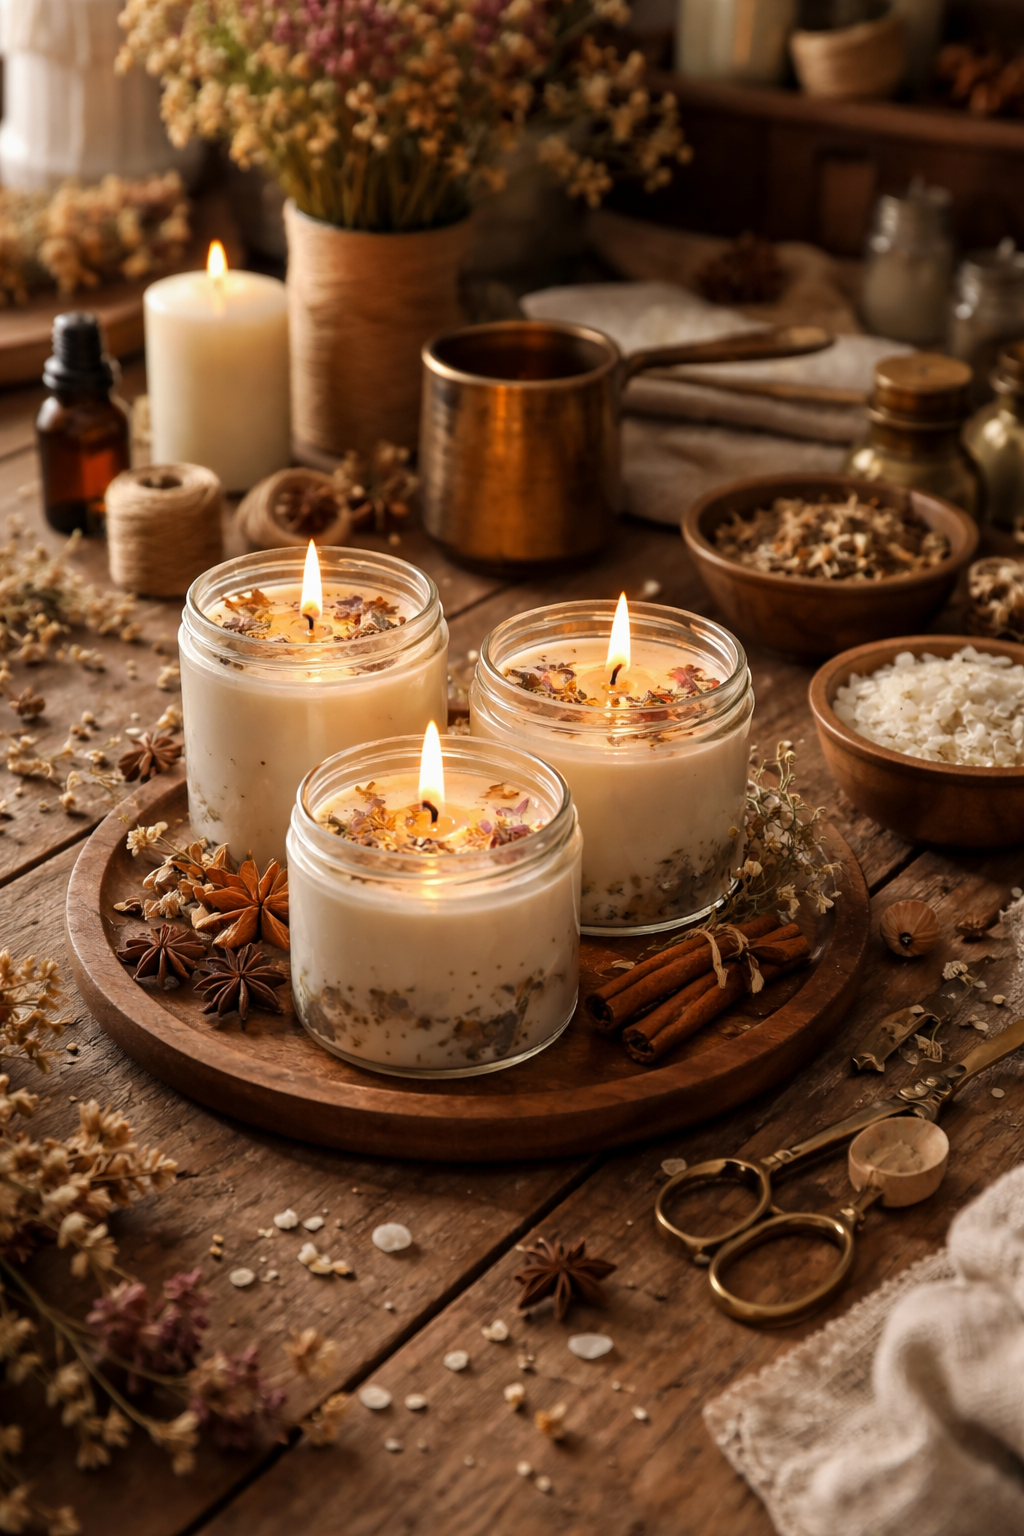
Have you ever wanted to try your hand at making candles? This process is not as difficult as many assume.
It’s honestly a relatively inexpensive hobby or side hustle to pick up.
Disclaimer—This post contains affiliate links. I may make a small commission off of the products purchased. This helps me maintain the website.
Candle-Making Essentials
Here’s a comprehensive list of materials that I personally use while candle making.
Many of these items you may already have lying around the house or can pick up at a thrift store, Walmart, or even Amazon!
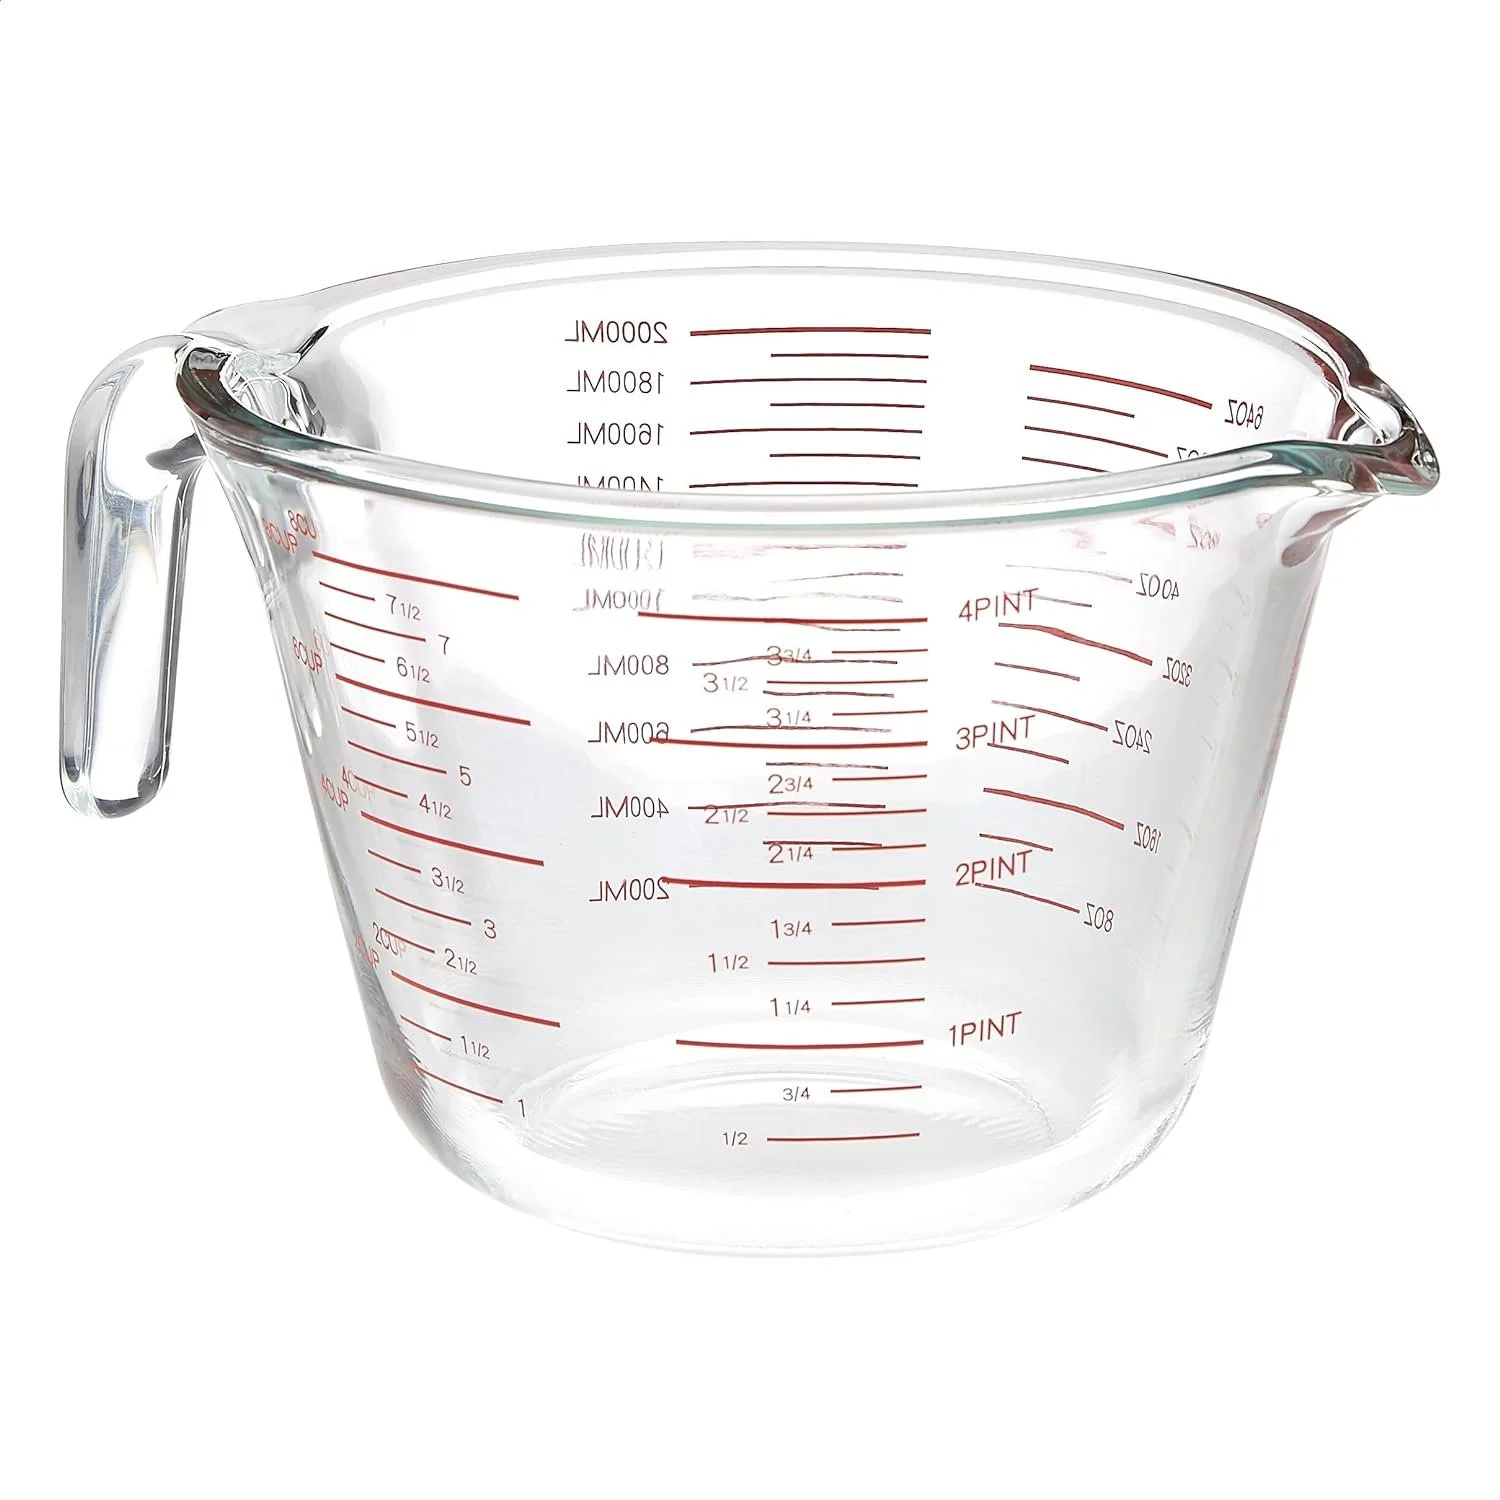
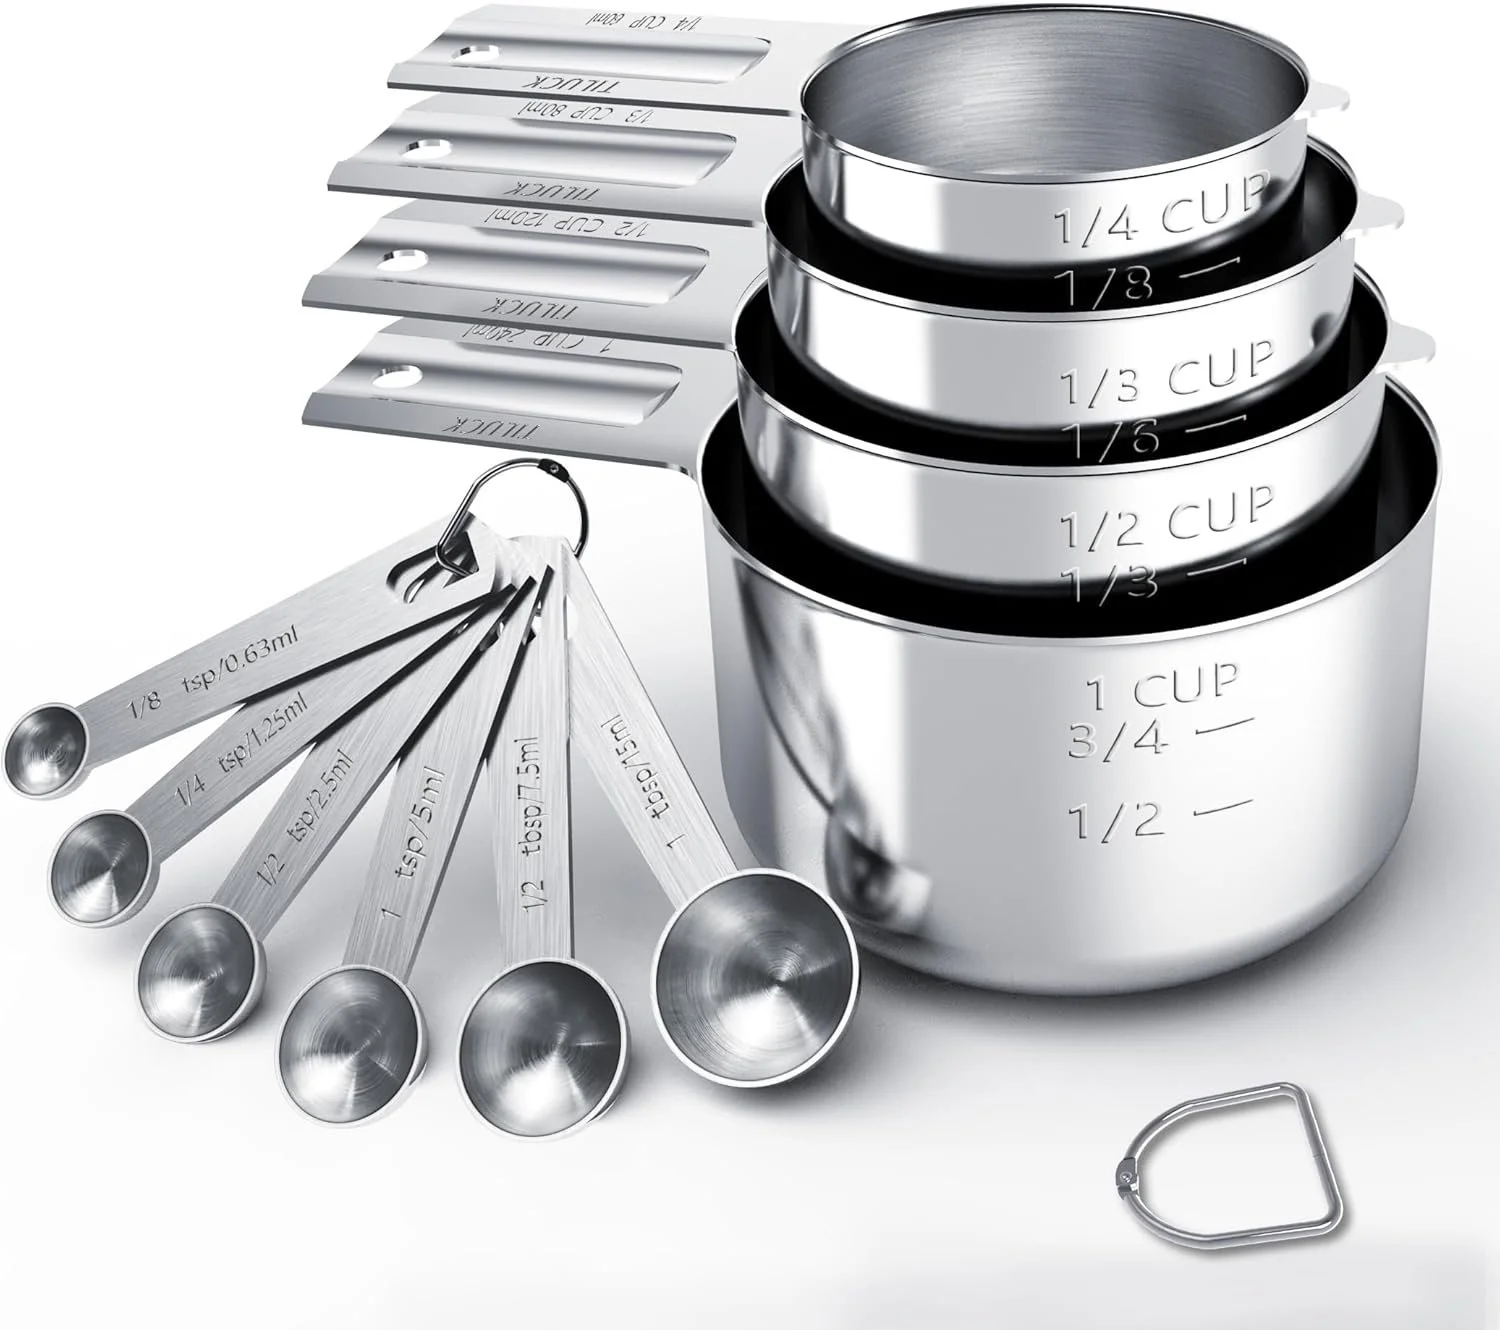
Glass Measuring Cups
Measuring Cups—These can be large or small. I prefer to have the set of 3 so that I can have multiple going at one time.
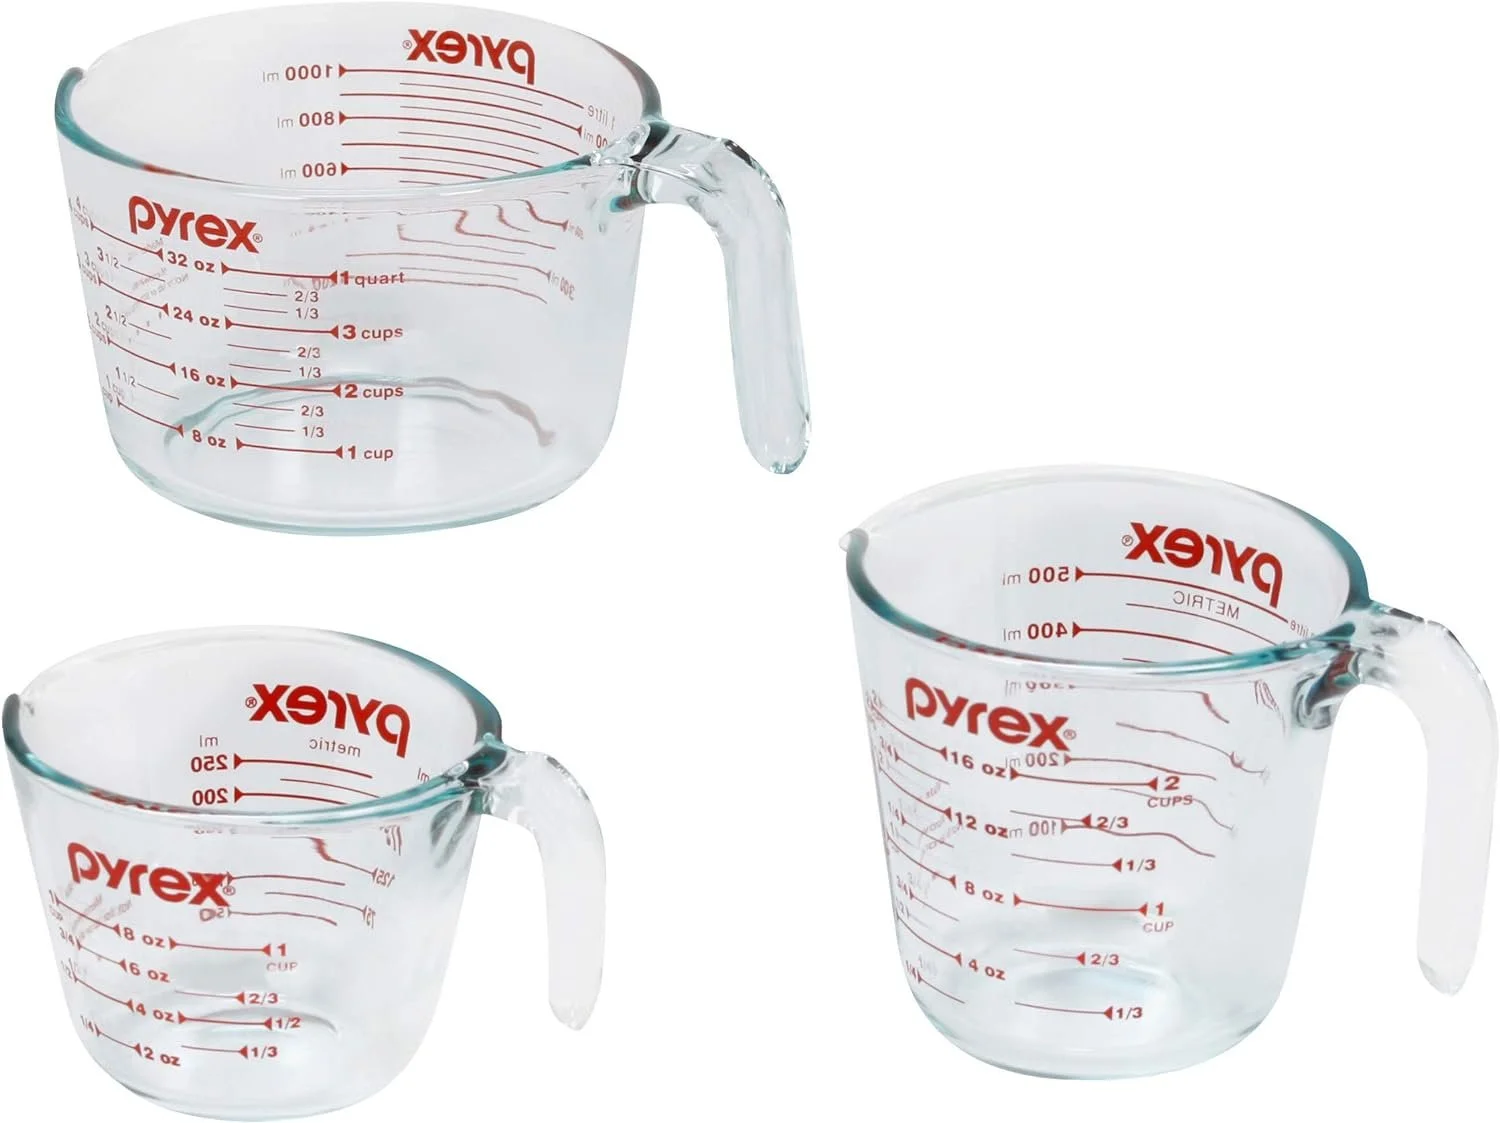
However, if you are just starting out and trying to save on expenses, you may want to go with a larger measuring cup because it is much more versatile.
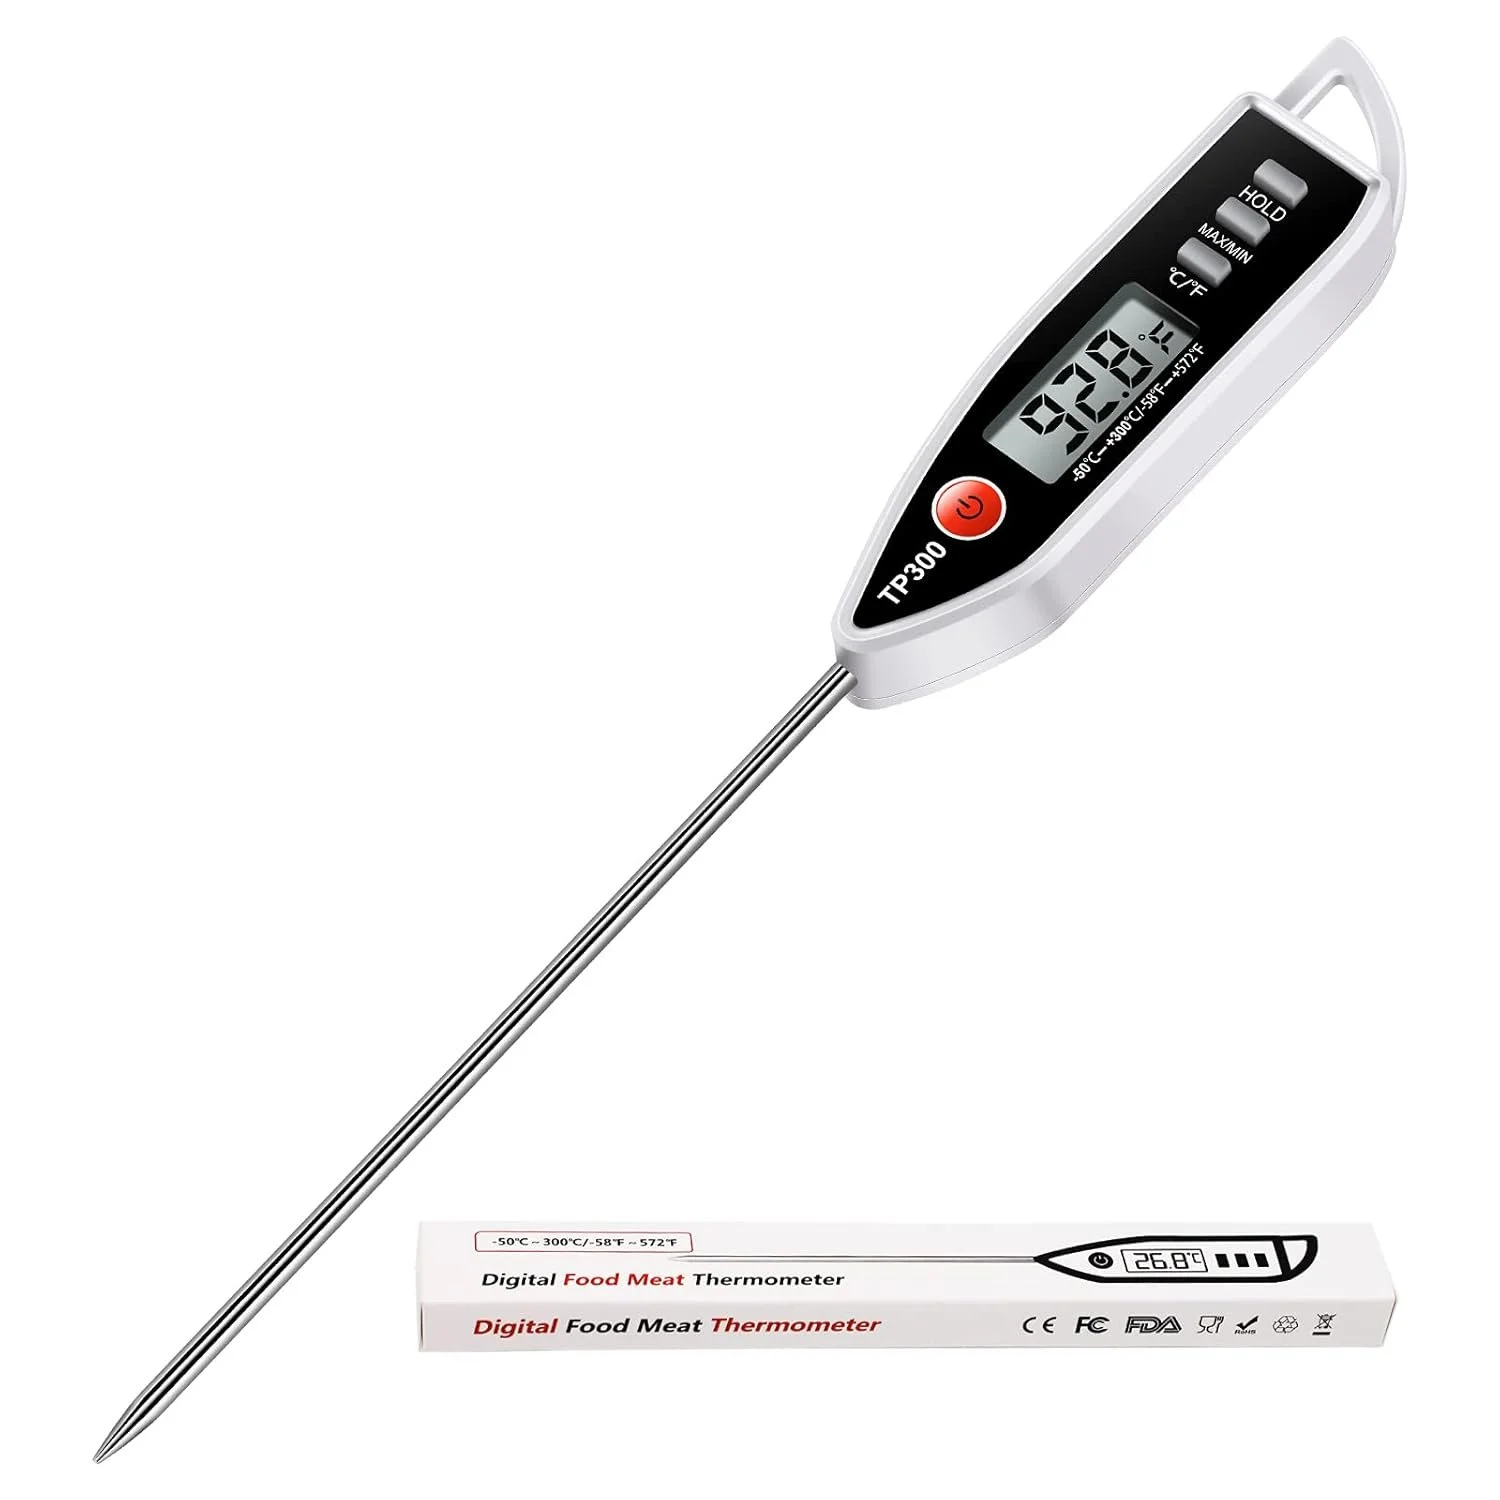
Digital Thermometer—This is an essential item to use for checking your wax temperatures.
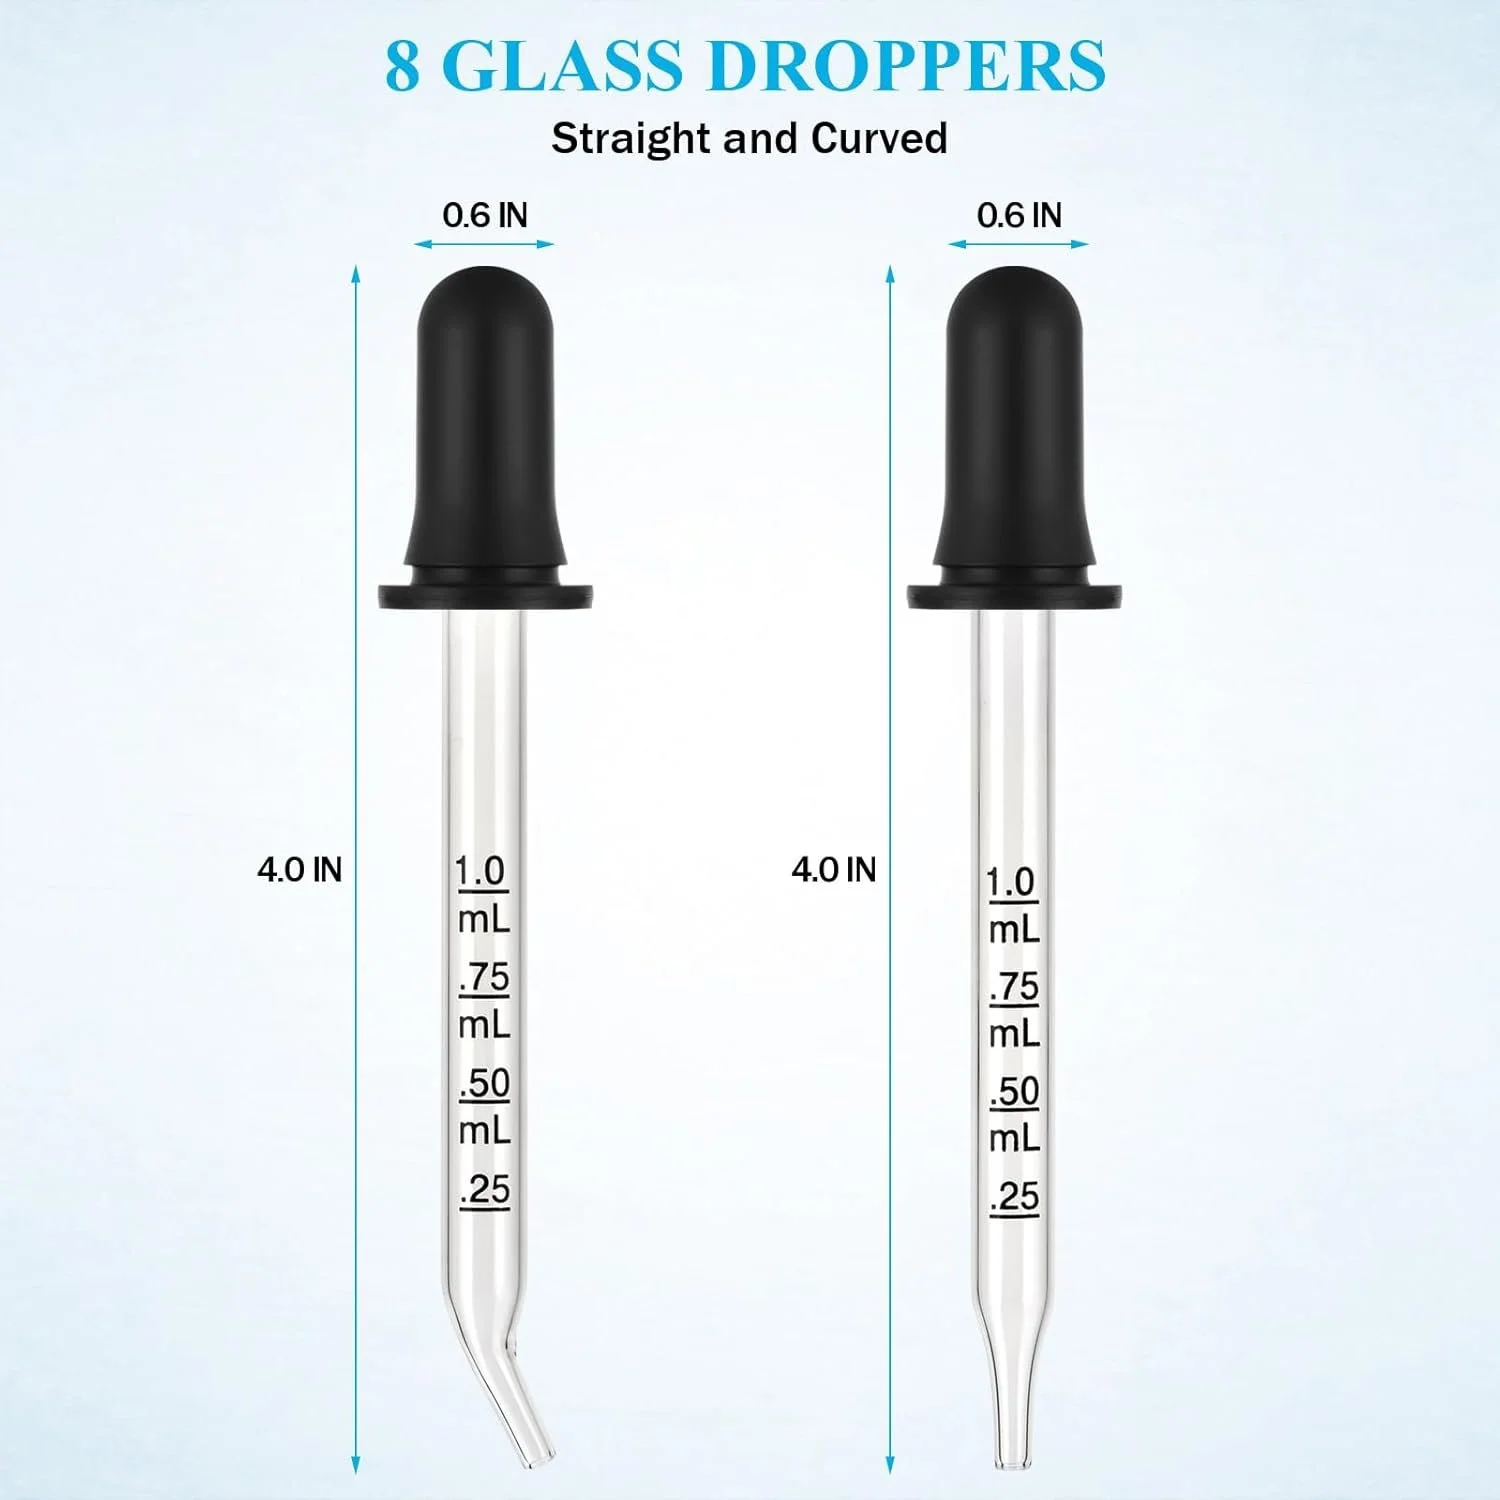
Eyedroppers can help you add a little fragrance at a time to smaller batches of candles with less mess!
Click here for glass eyedroppers for fragrance oil!
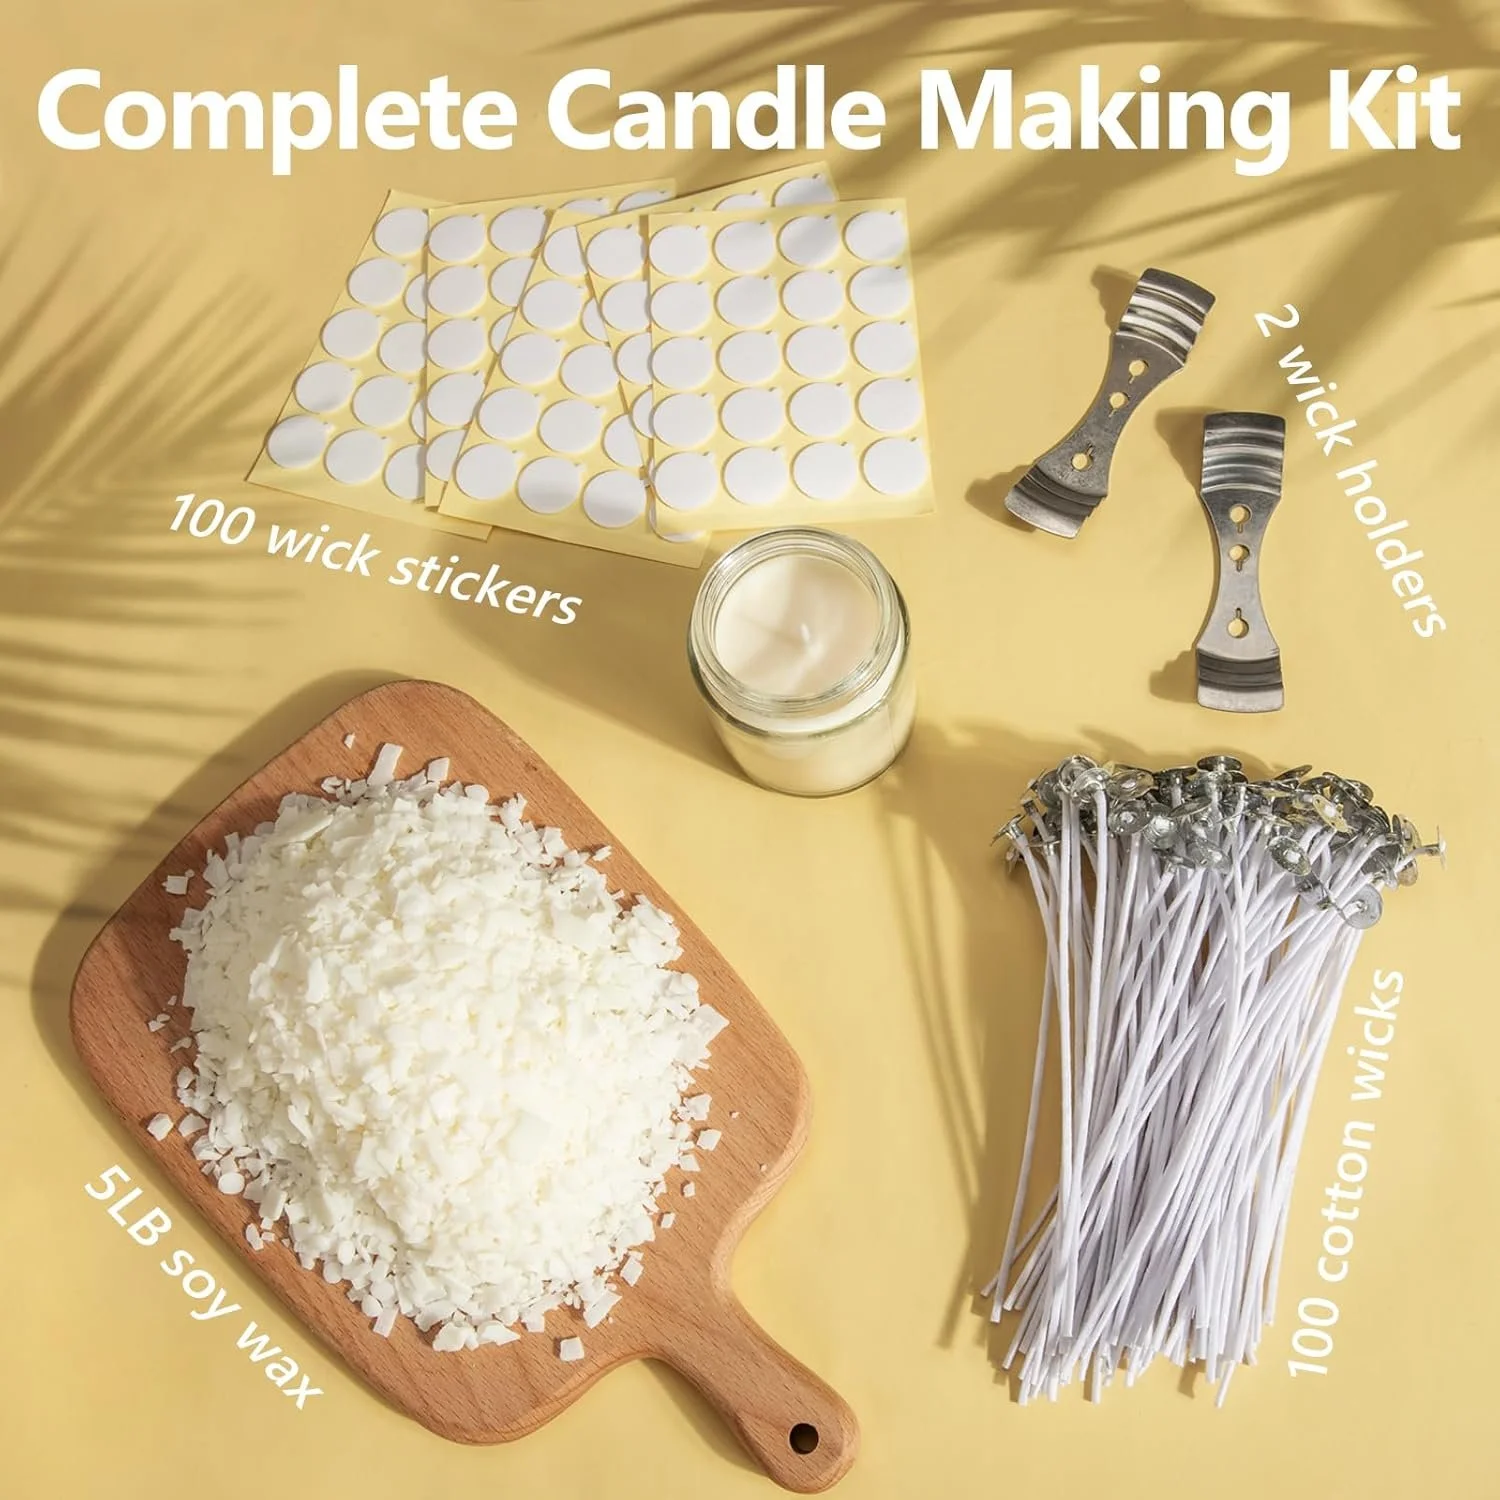
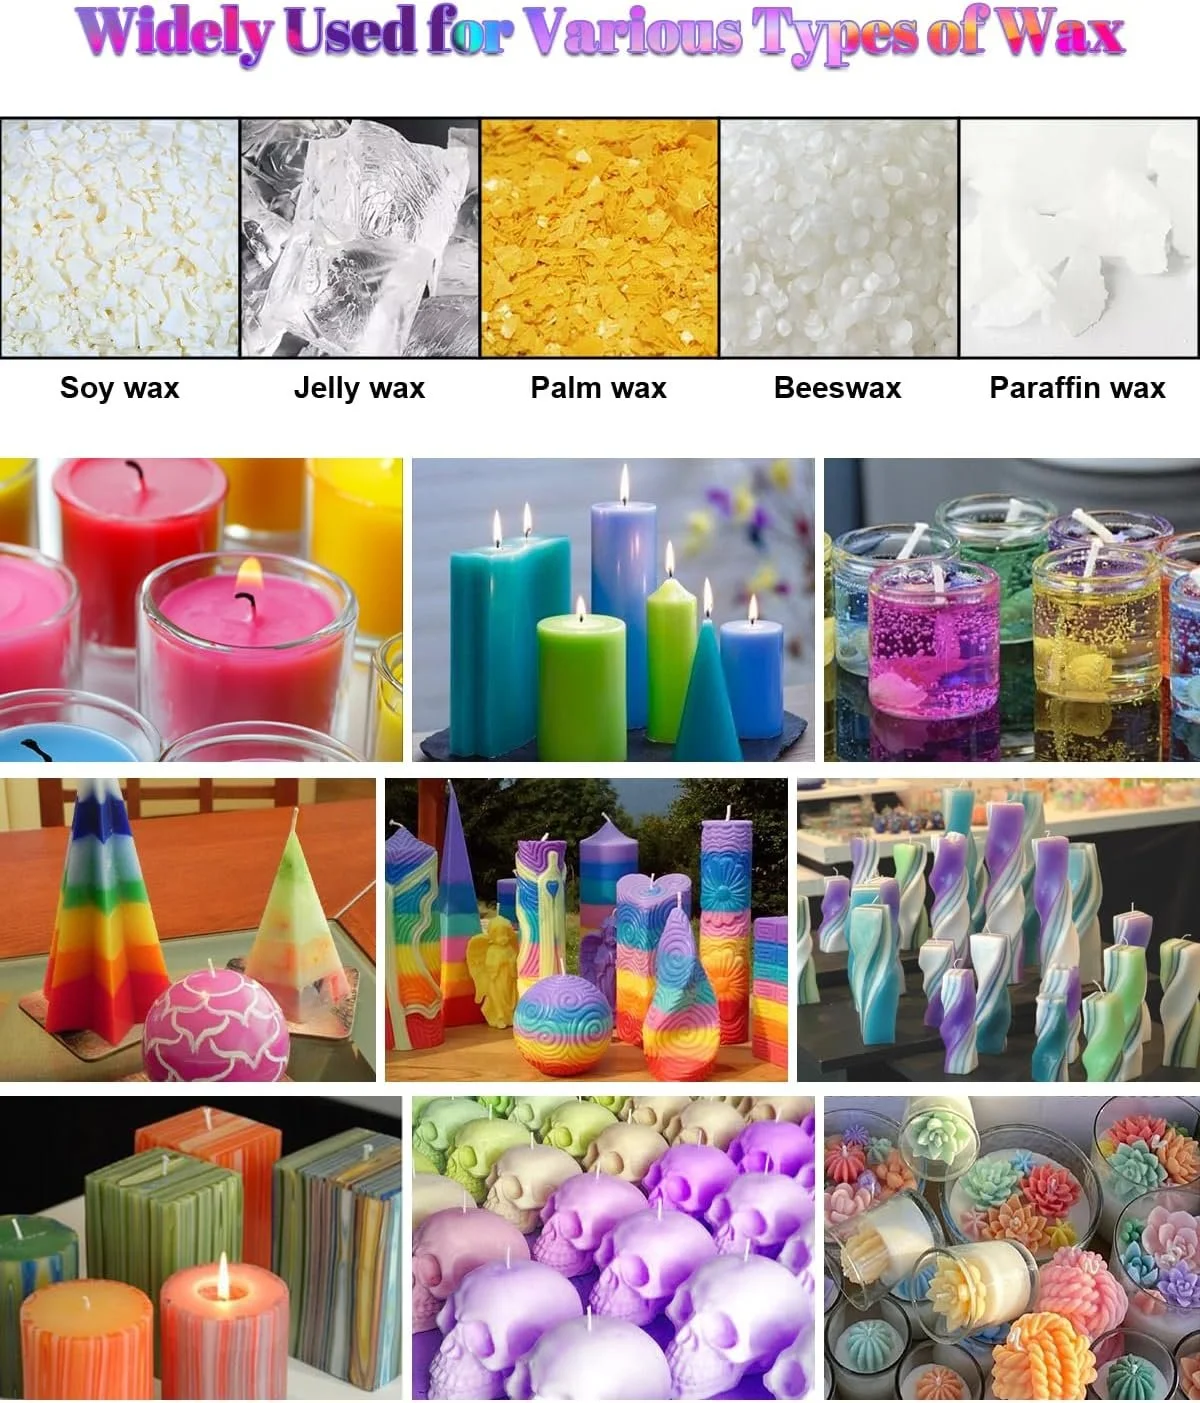
Soy Wax and Wicks—This obviously is the most important part of your candle making. There are many different sets that I have used.
Most wax already comes with plenty of wicks and stickers to secure the wick in place.
There are many different options for buying and sizes. If you are just starting out, you may want to consider just a 5 lb bag.
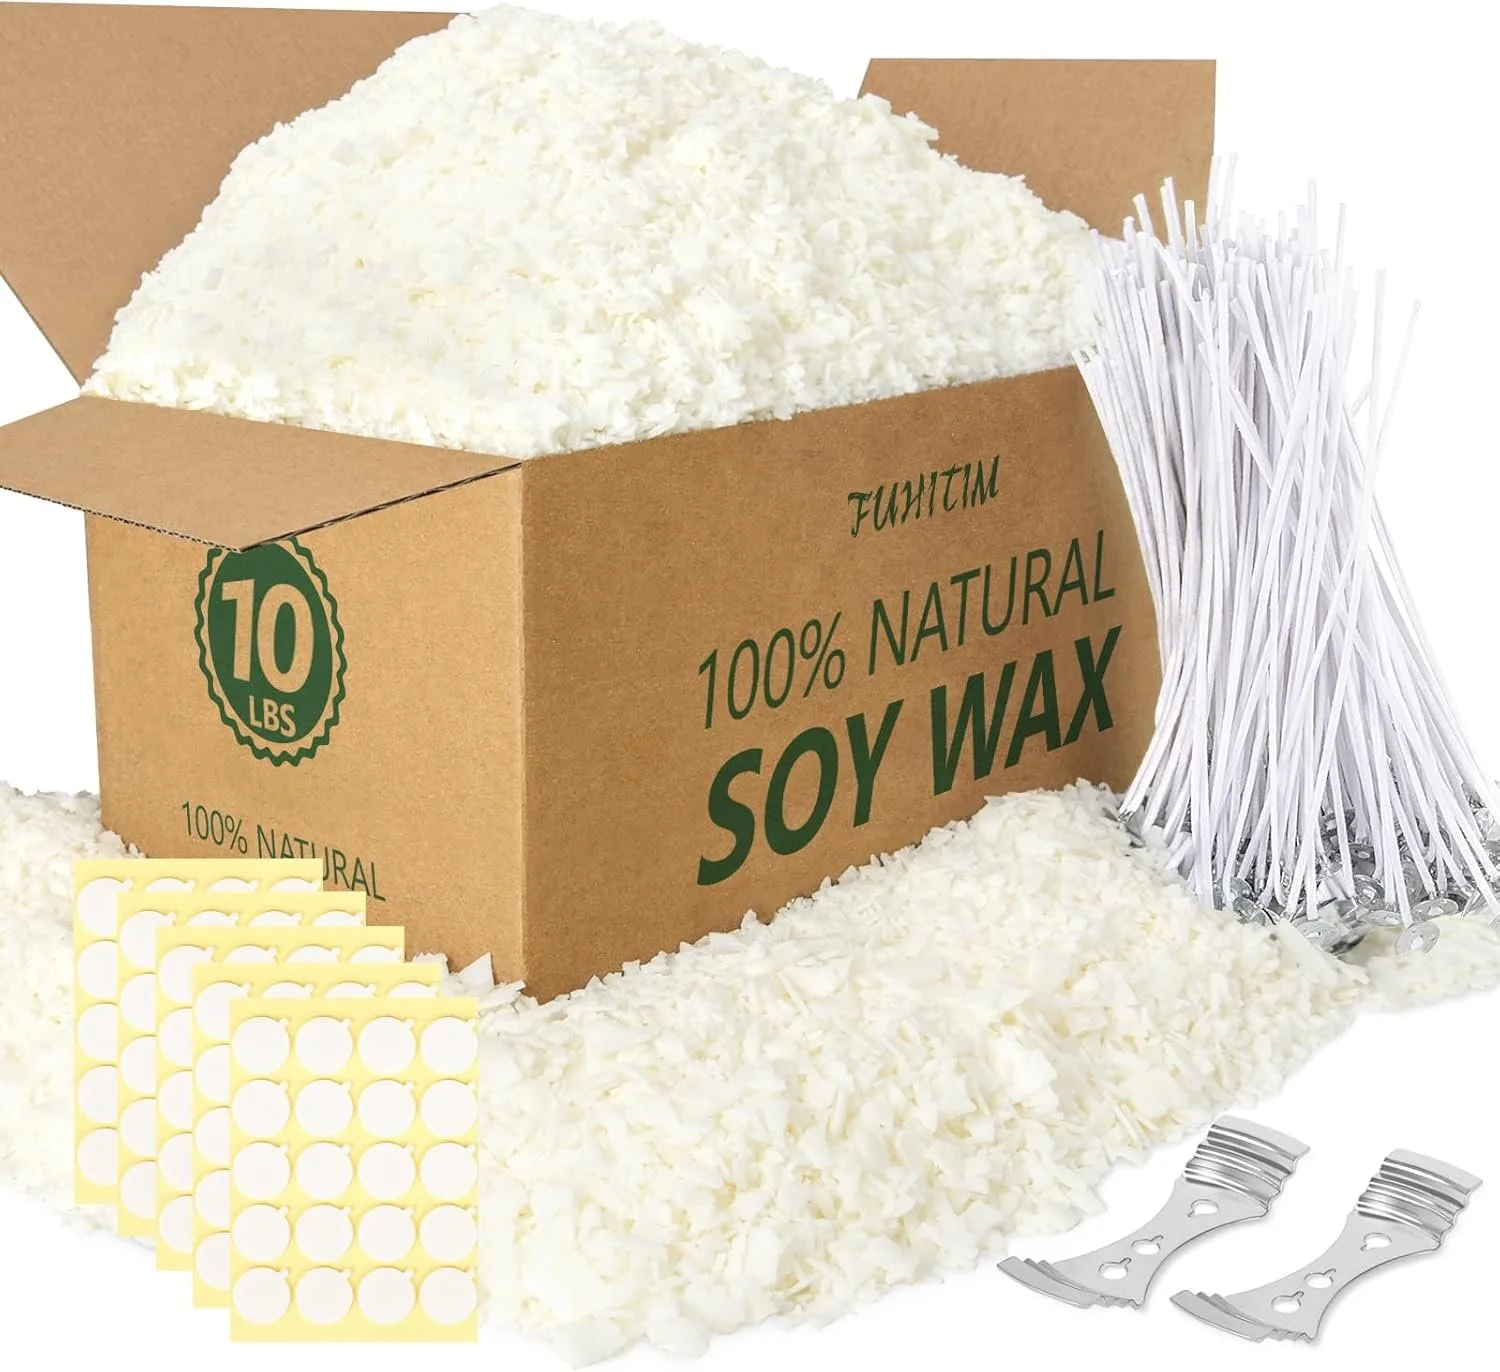
However, if you are planning on making at least 5 larger candles (pint-sized or larger), I would go ahead and purchase at least 10 lbs, as you will run out rather quickly.
If you are VERY serious about candle making, I would go ahead and purchase 20 lbs or 25 lbs. It is more expensive, but much cheaper per pound to buy in bulk.
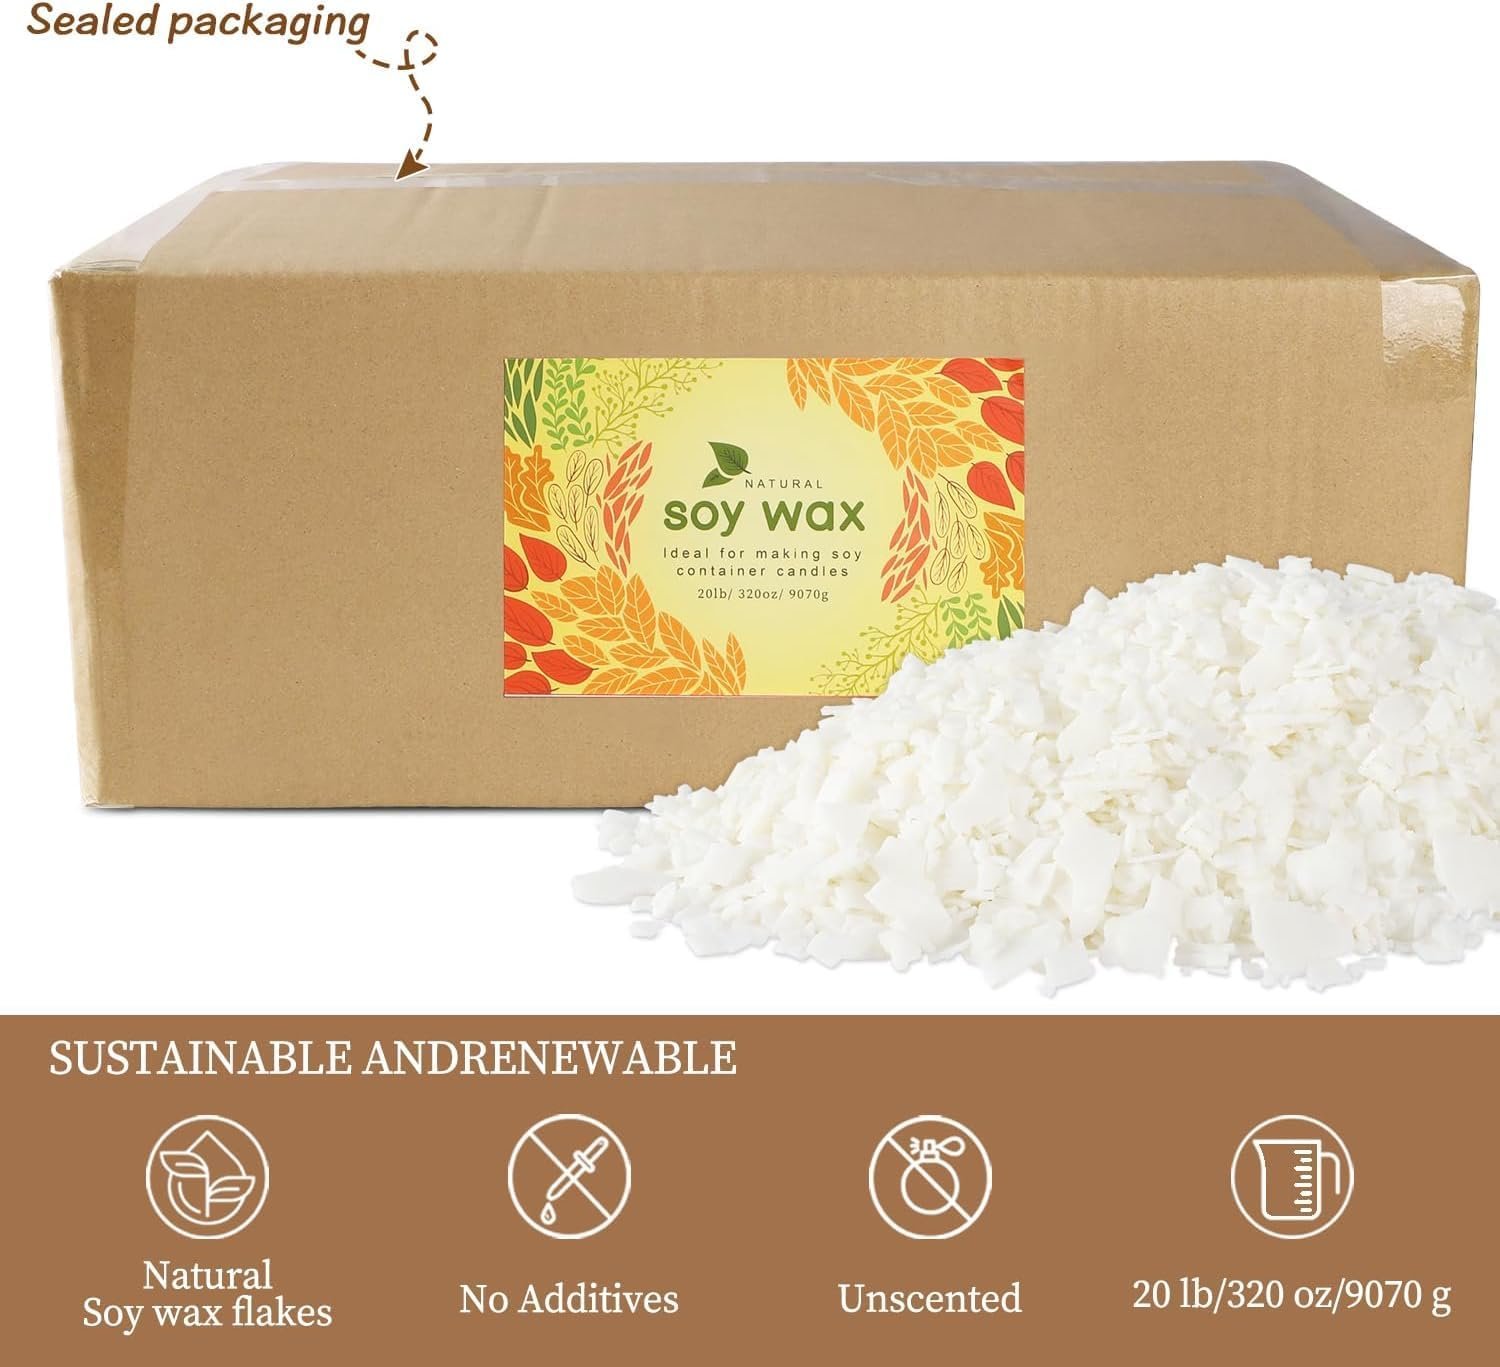
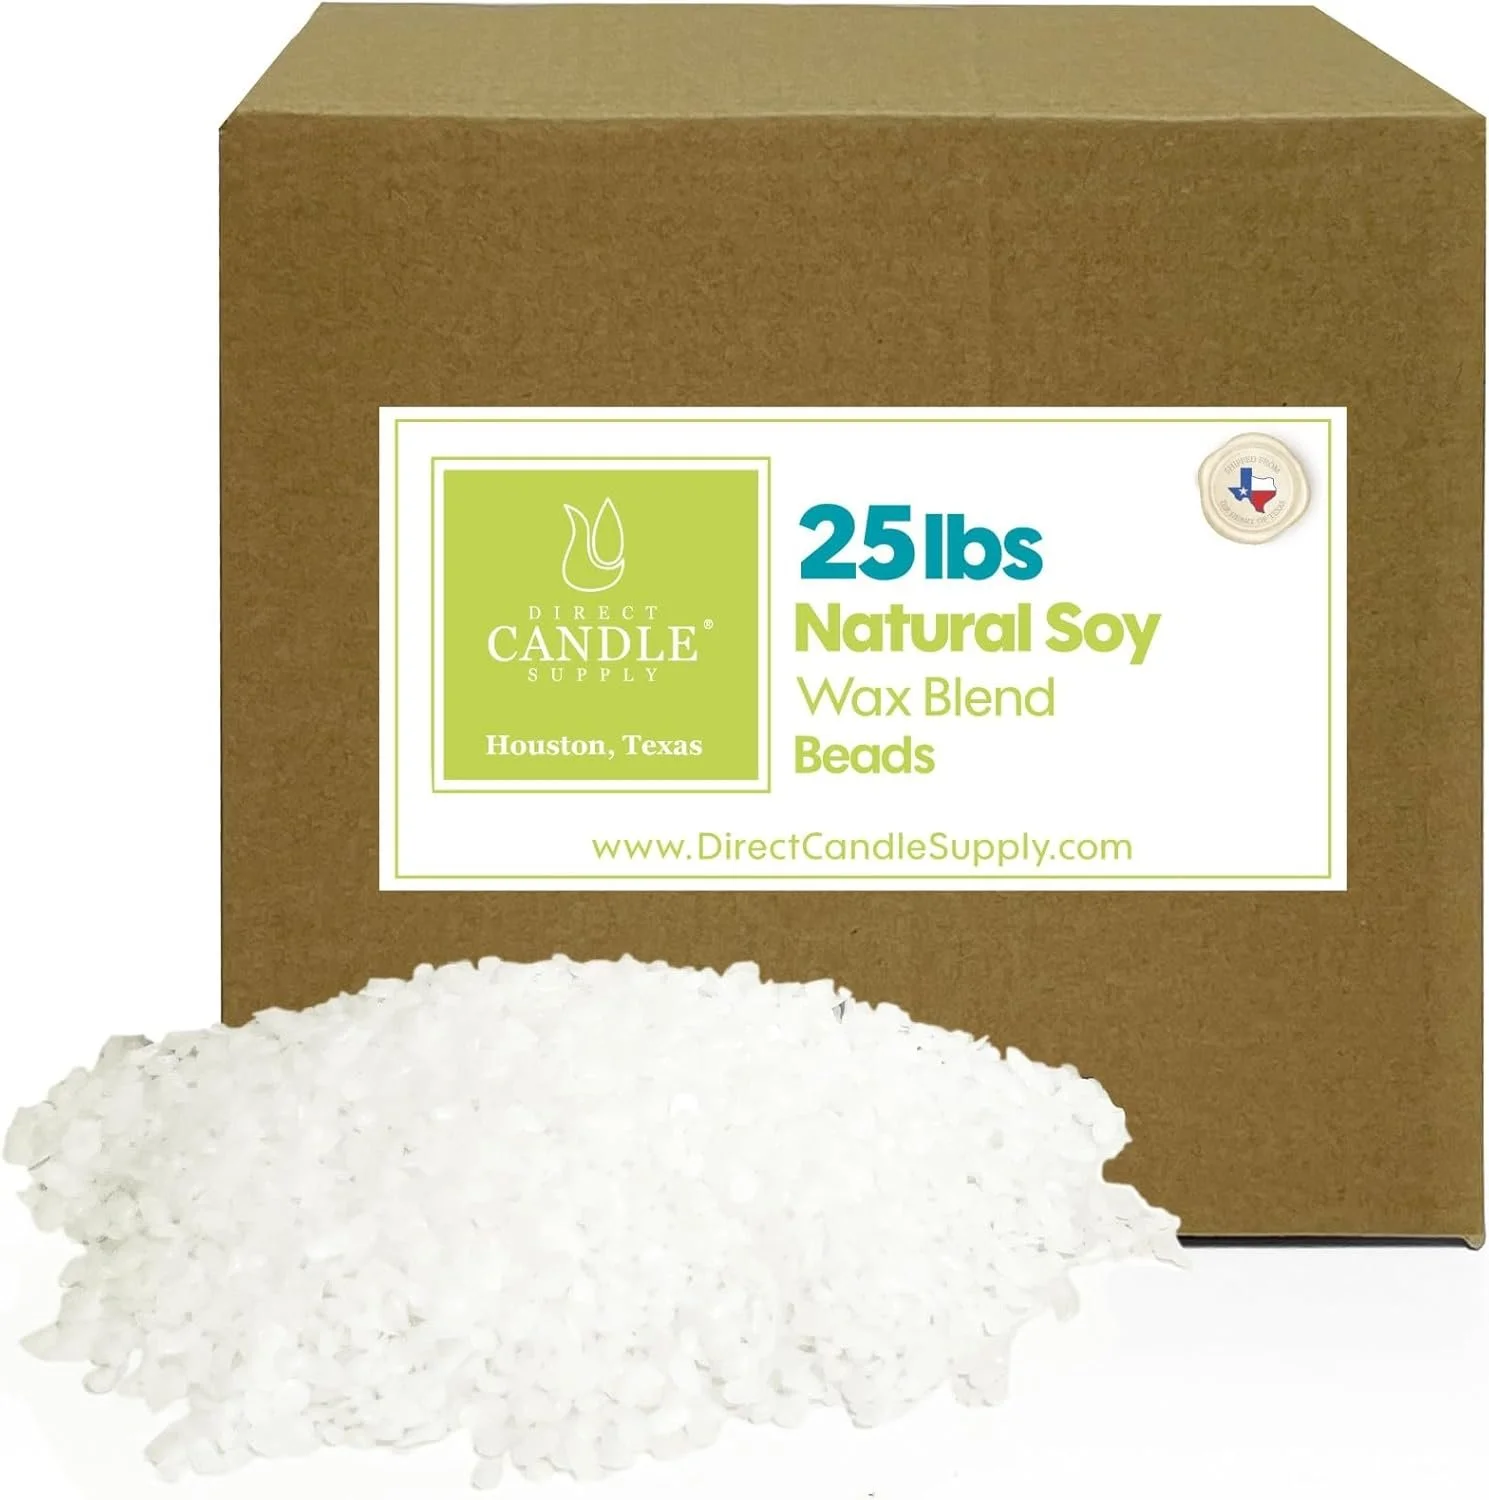
There are also flakes and beads. To be honest, I have no preference for either.
Click here for 5 lbs, 10 lbs, 20 lbs, or 25 lbs of soy wax!
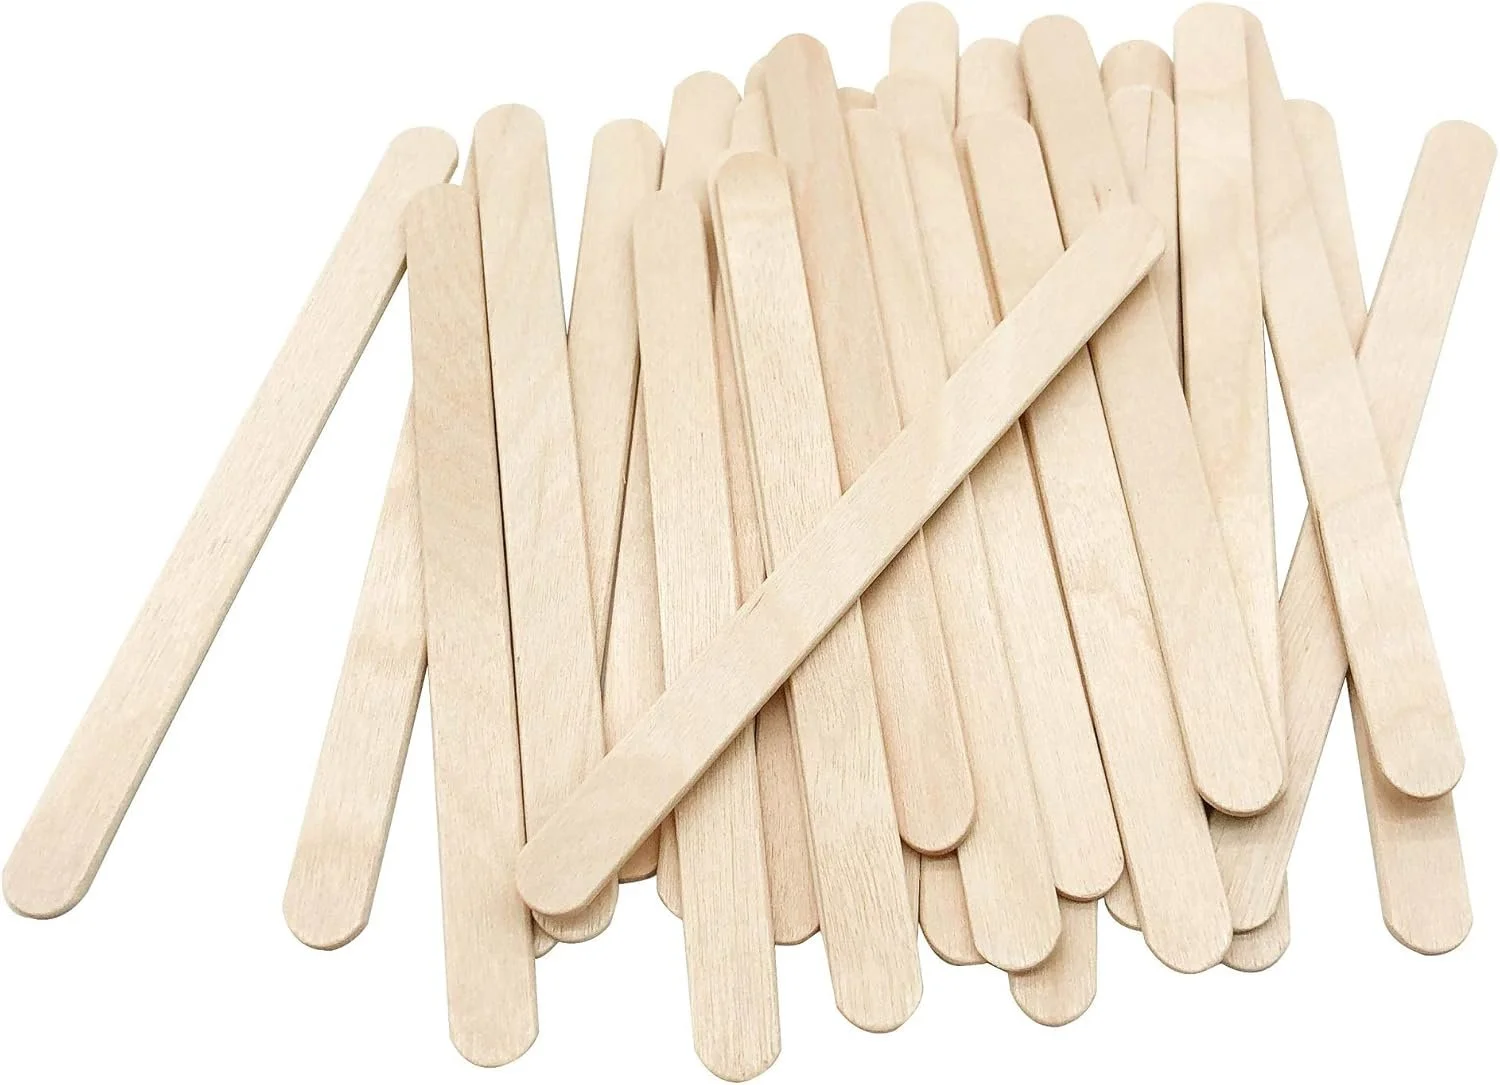
Popsicle Sticks
Popsicle Sticks—You can use jumbo or regular-sized. This is meant to stabilize your wicks while cooling.
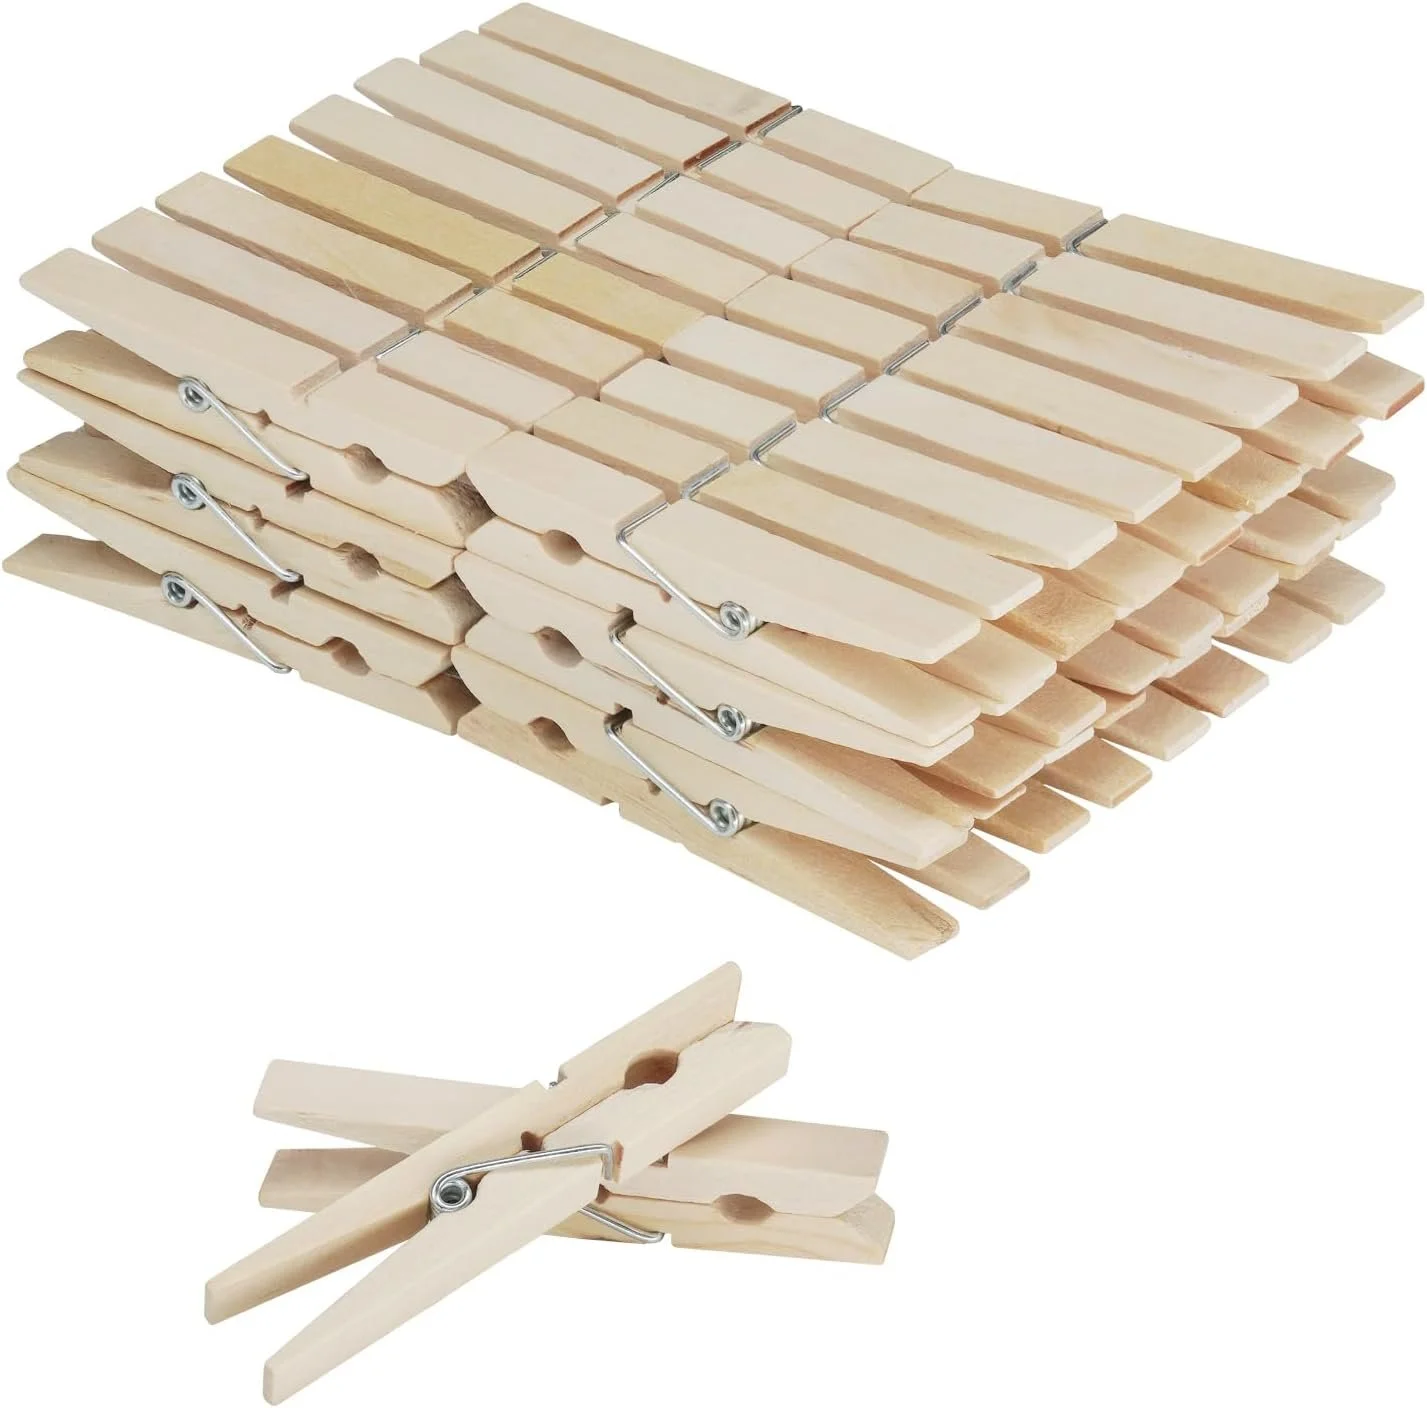
Clothespins—These also help stabilize the wicks when used with the popsicle sticks.
Heat Gun
Heat Gun— A heat gun is used to even out your candles that may have air bubbles, or uneven cooling.
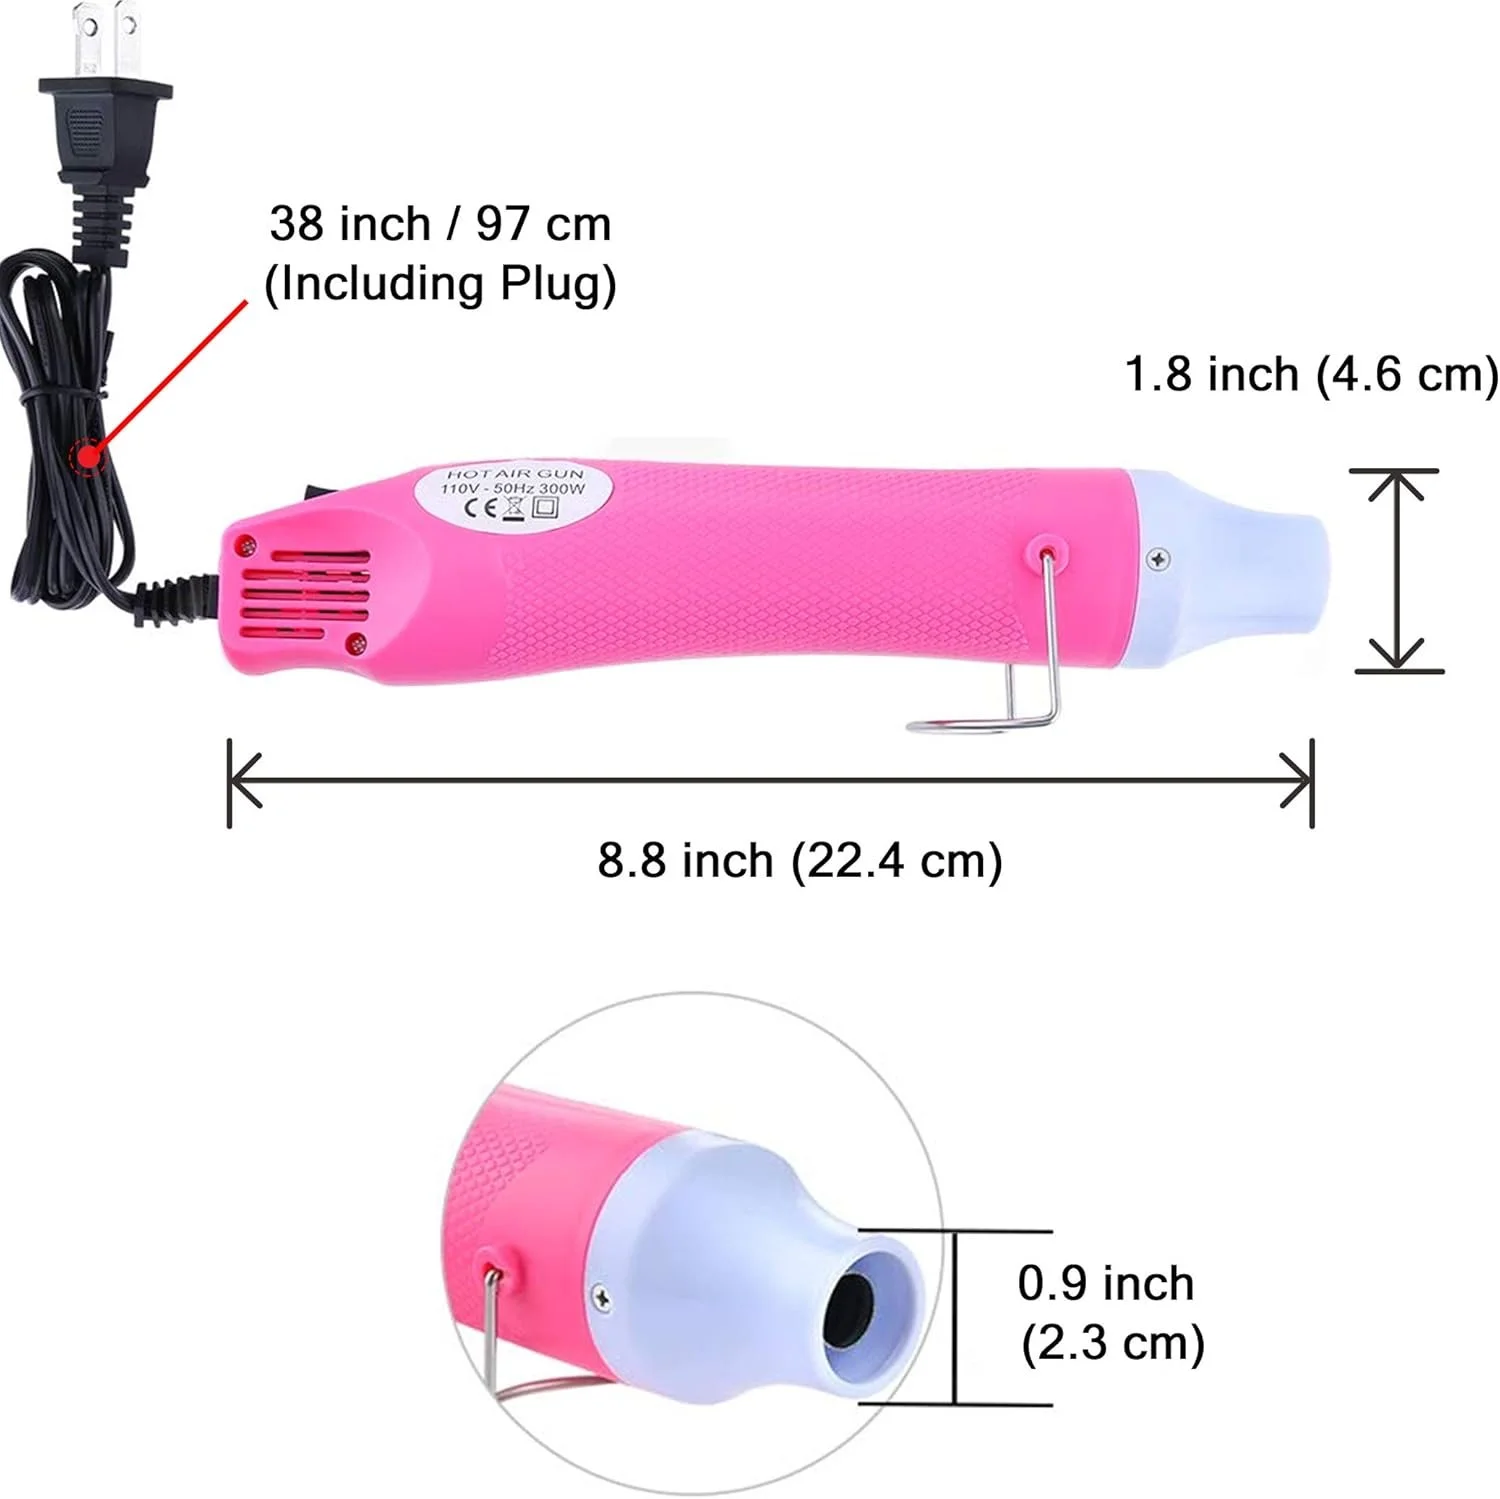
A heat gun will provide an overall smoother look. I love my heat gun. It can also be used for projects other than candle making.
Stearic Acid— Stearic acid helps stabilize and thicken wax. I like to add it in for wax melts as well.

Measuring cups & spoons—Measuring cups & spoons are important for measuring out ingredients like UV stabilizer and stearic acid.
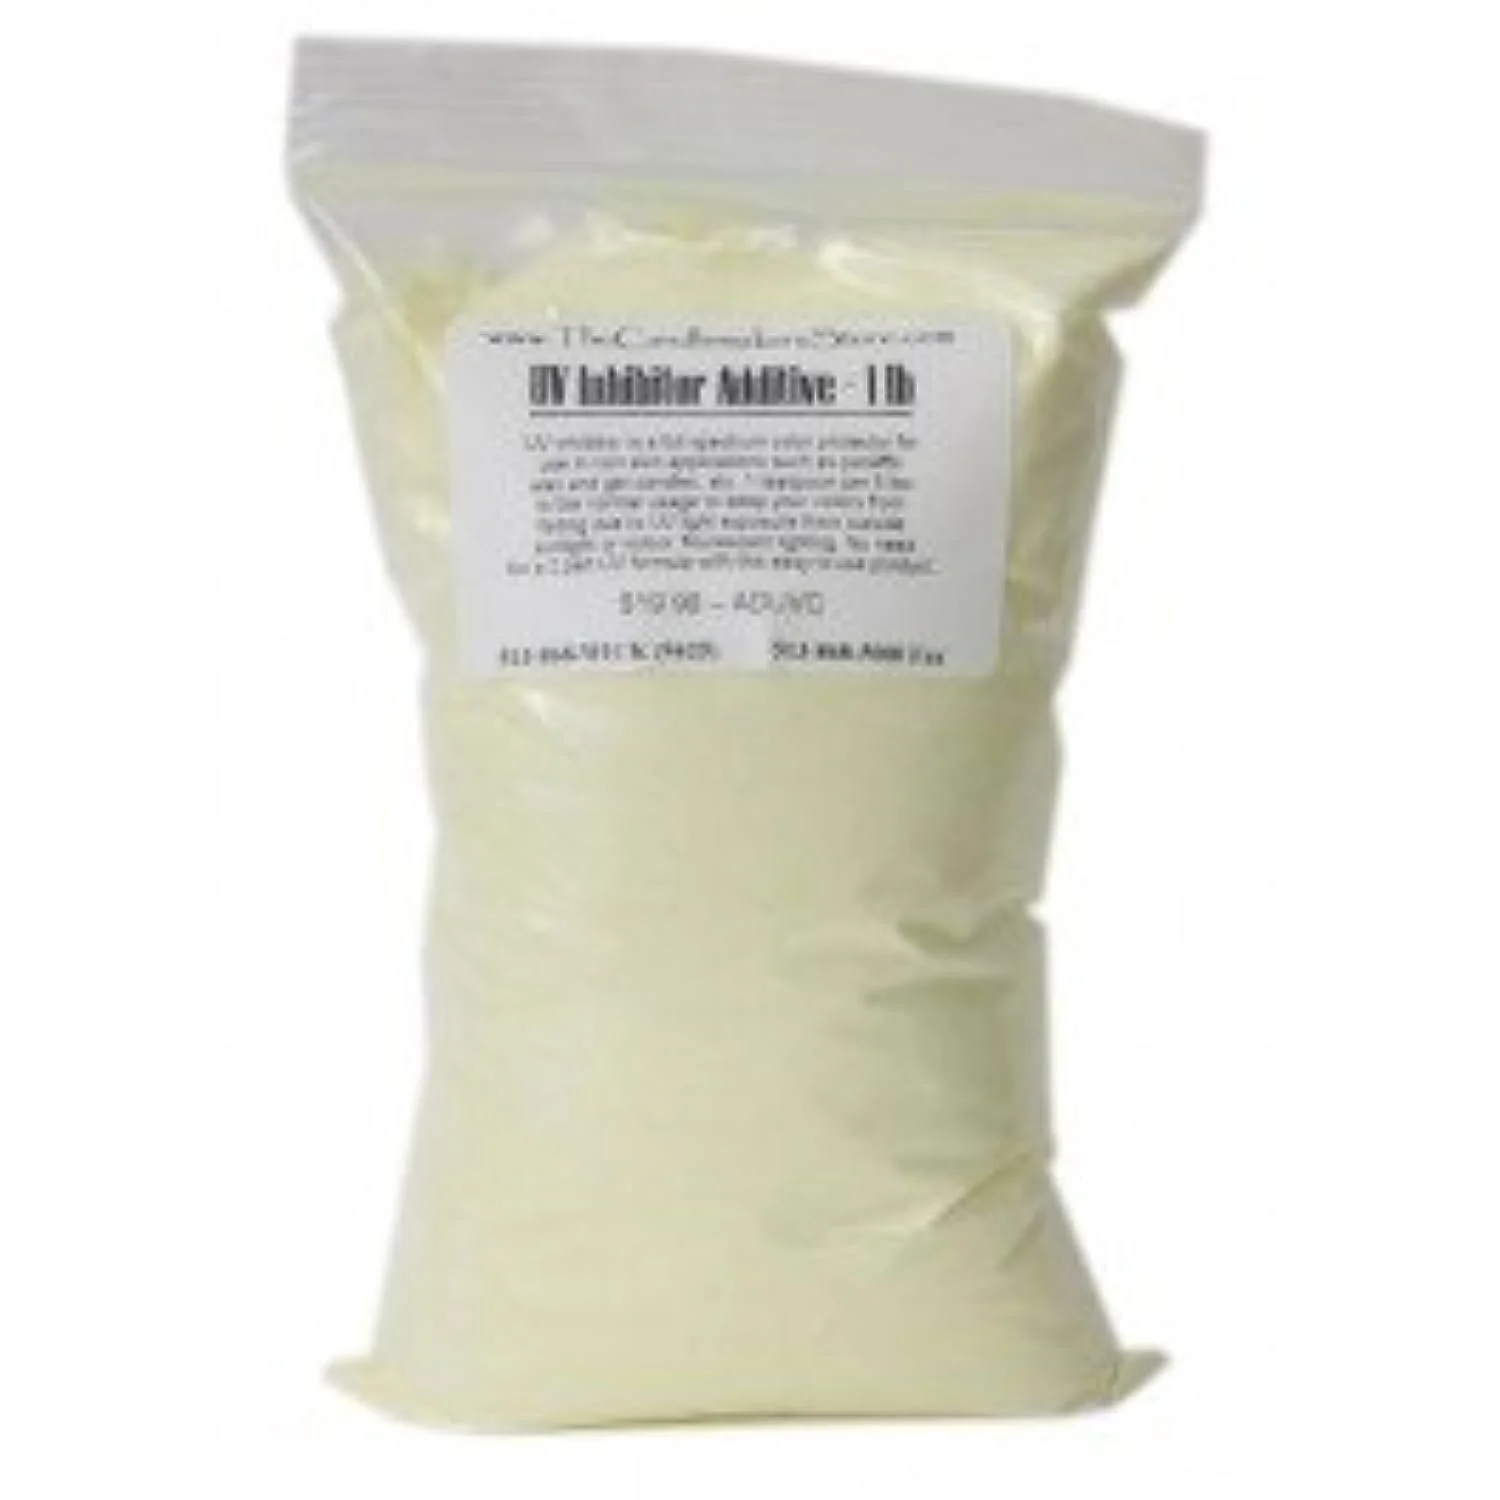
UV Stabilizer
UV Stabilizer—UV Stabilizer is used to prevent your wax from losing color over time. This is completely optional.
You may also get it from this candle company that has great fragrances.
Lone Star Candle Company is a company that has great, strong scents, with many similar to top brands.
Most are VERY close. They offer UV stabilizers, among other products.
Wax Dyes
Wax Dyes—There are a couple of different forms of wax dyes. There are mica powders as well as liquids.
If you are going to stick strictly with candlemaking, purchasing liquid dye is just fine.
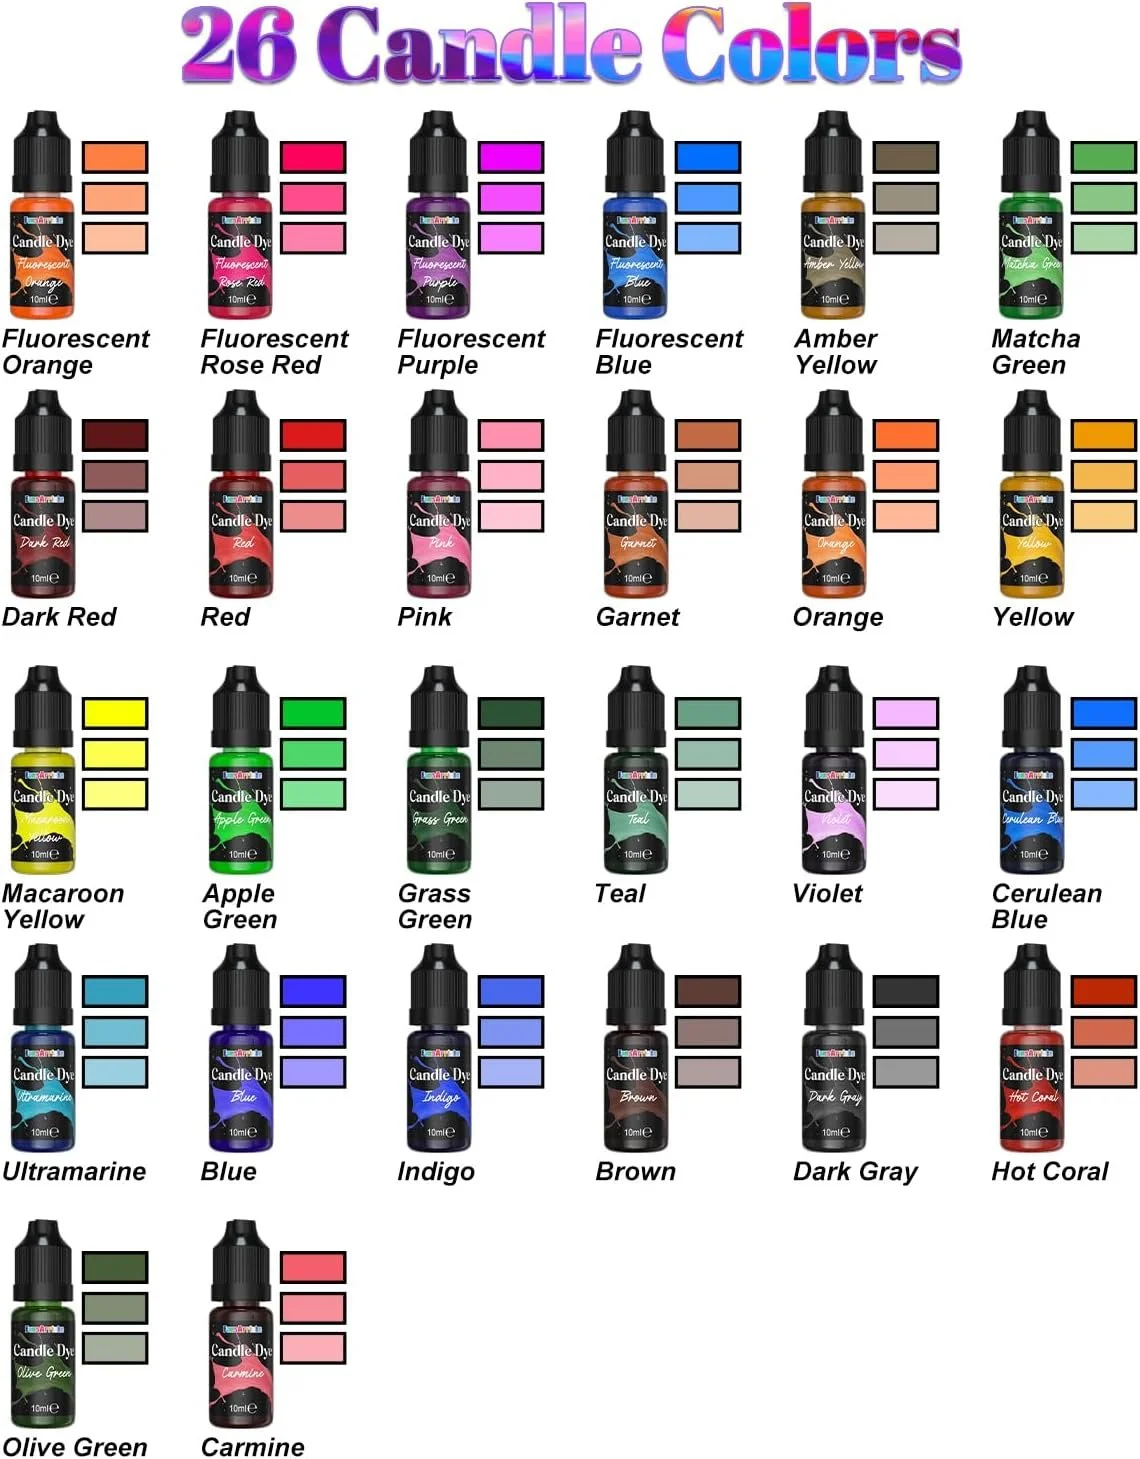
If you want to venture into soaps, body scrubs, bath bombs, etc., you probably should purchase the mica powder that is both soap and candle safe.
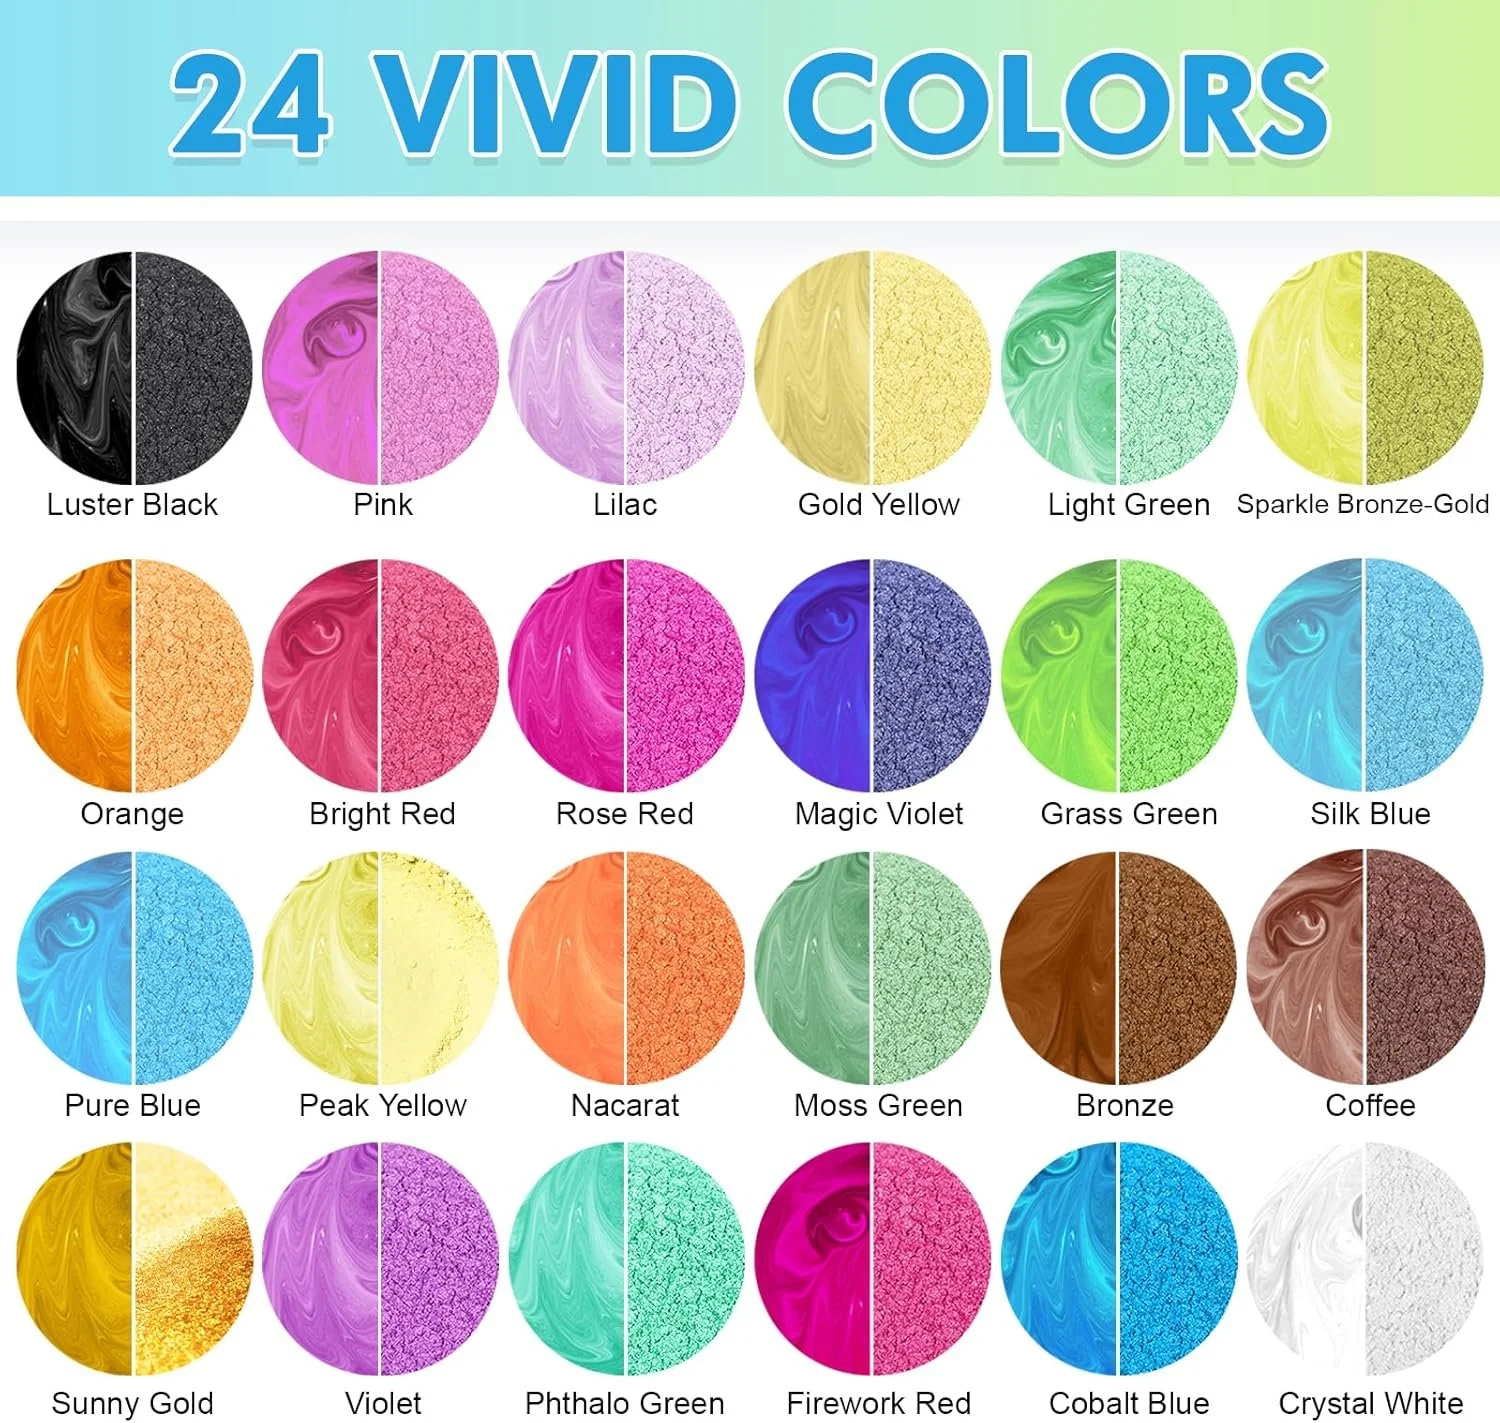
This will cost less for you in the long run. Candle dye seems to go a long way; however, liquid soap dye does not.
Mica powder is also much more consistent looking in sugar scrubs, bath salts, etc.
This is just something to keep in mind while starting up, but it is a cost nonetheless.
Click here for liquid candle dye, and Click here for mica dye powder!
Jars—There is such a great selection of jars out there! Walmart, Amazon, and thrift stores have a wide variety for you to choose from.
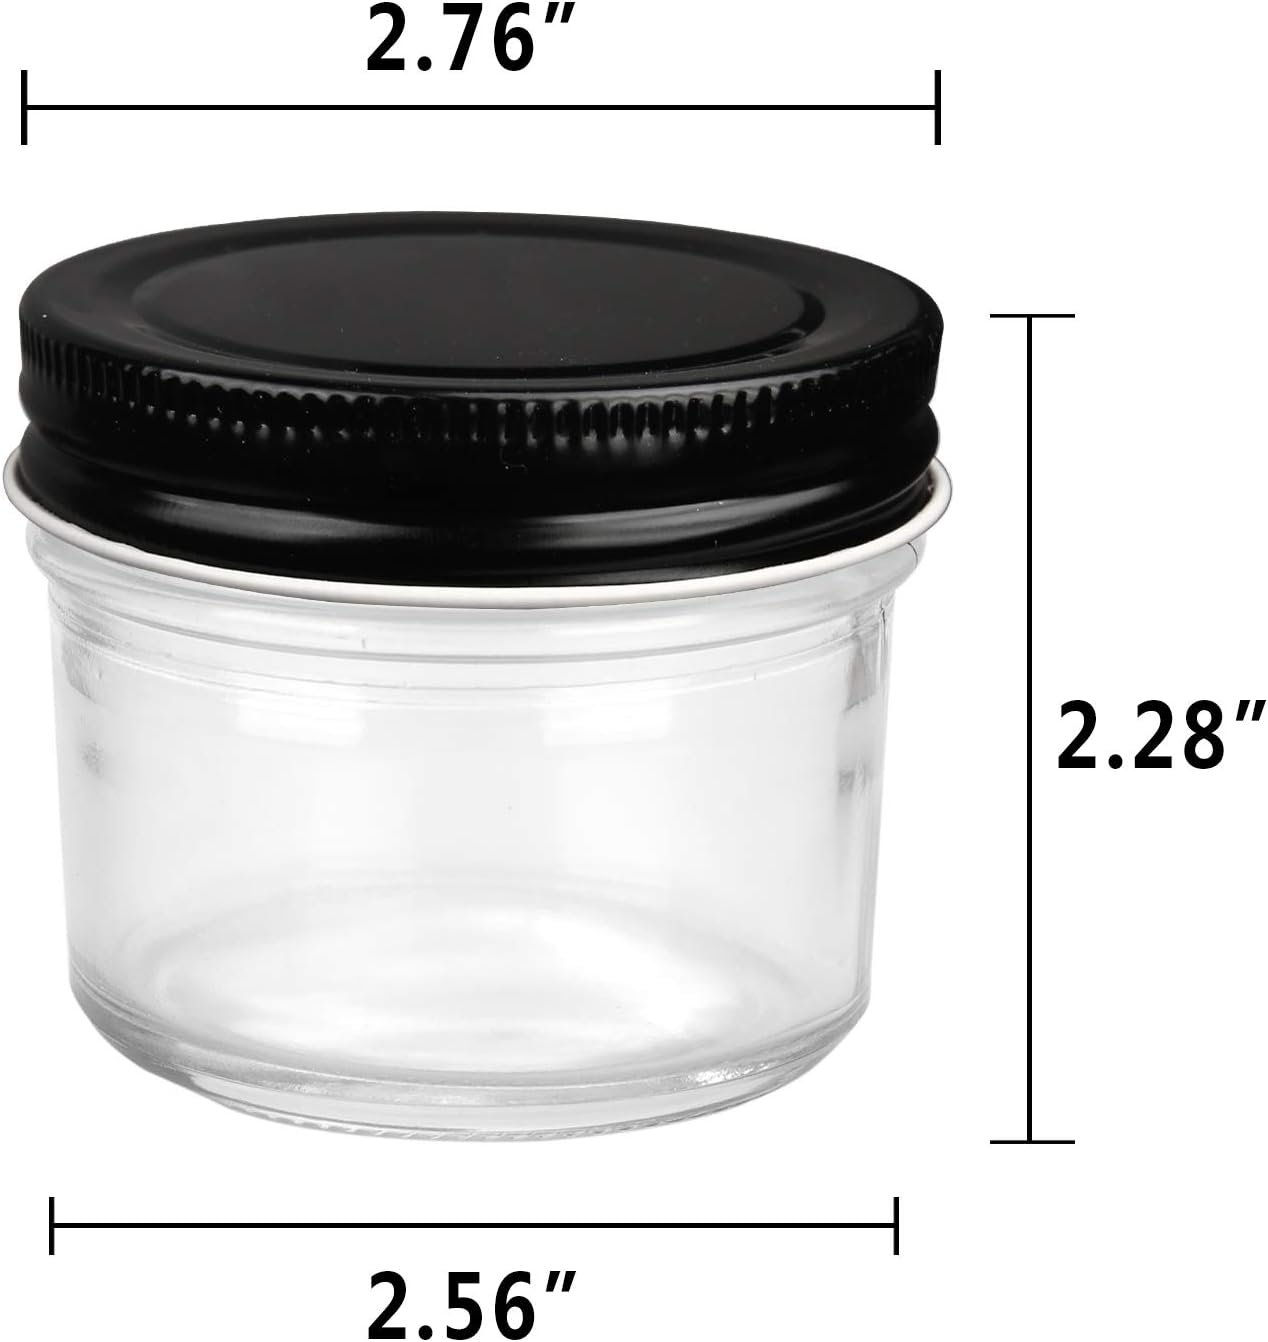
Some of these may not have lids or caps, but many people don’t mind this at all.
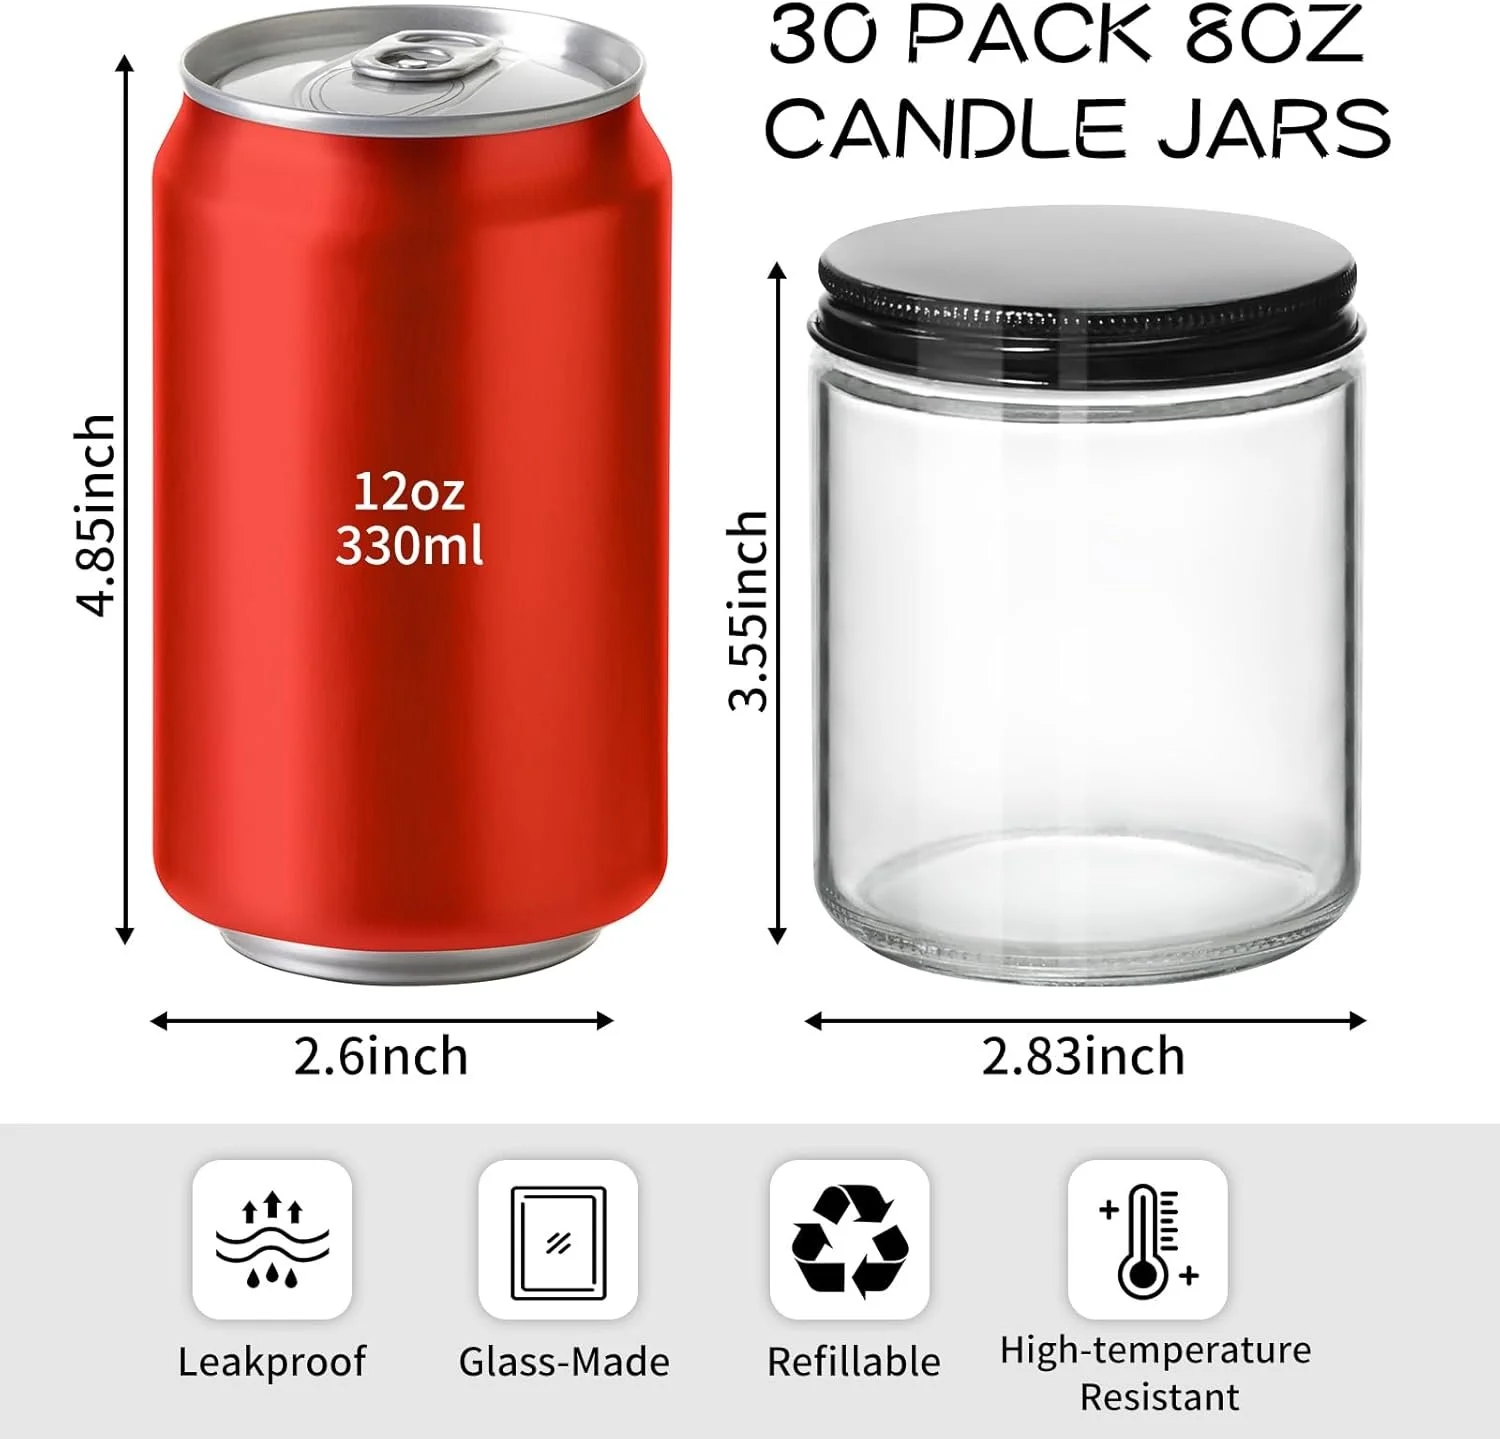
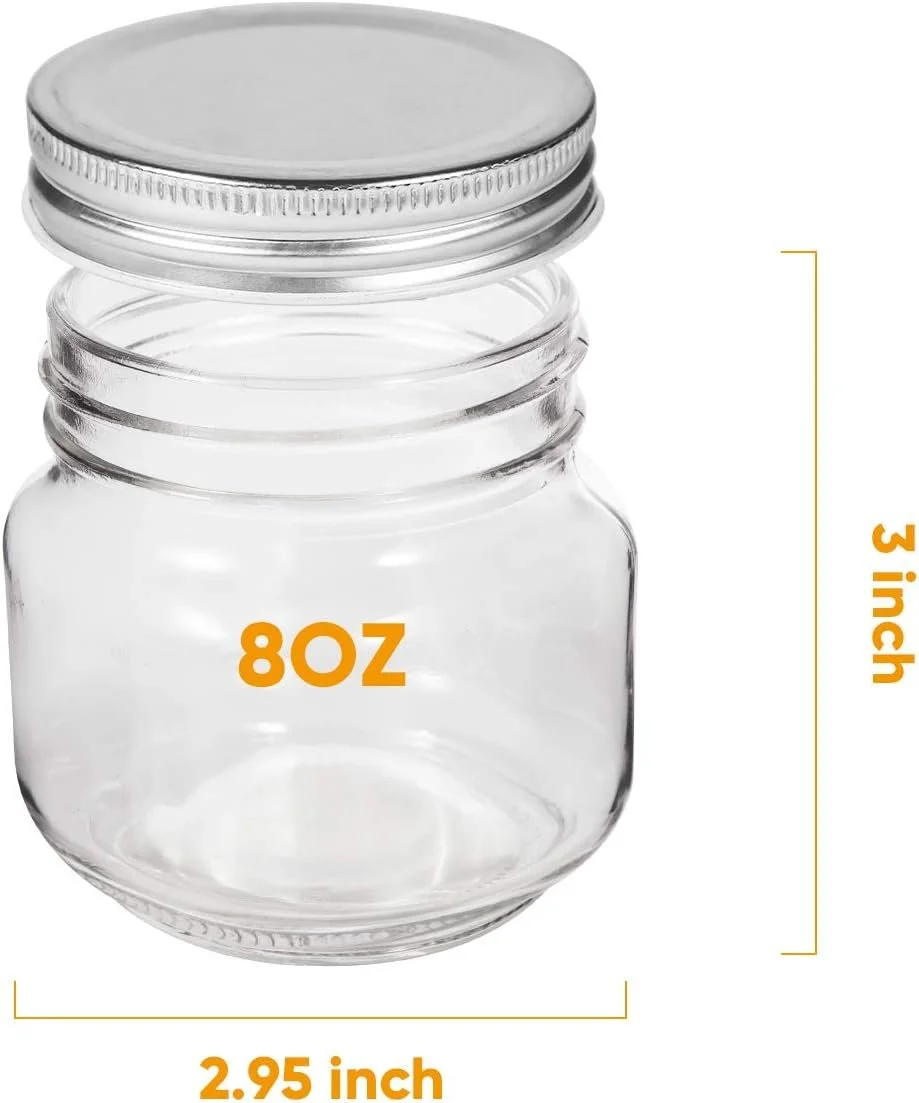
For a more farmhouse aesthetic, these 8 oz jars are perfect!
Click here for the 4 oz jars, and click here for the 8 oz jars!
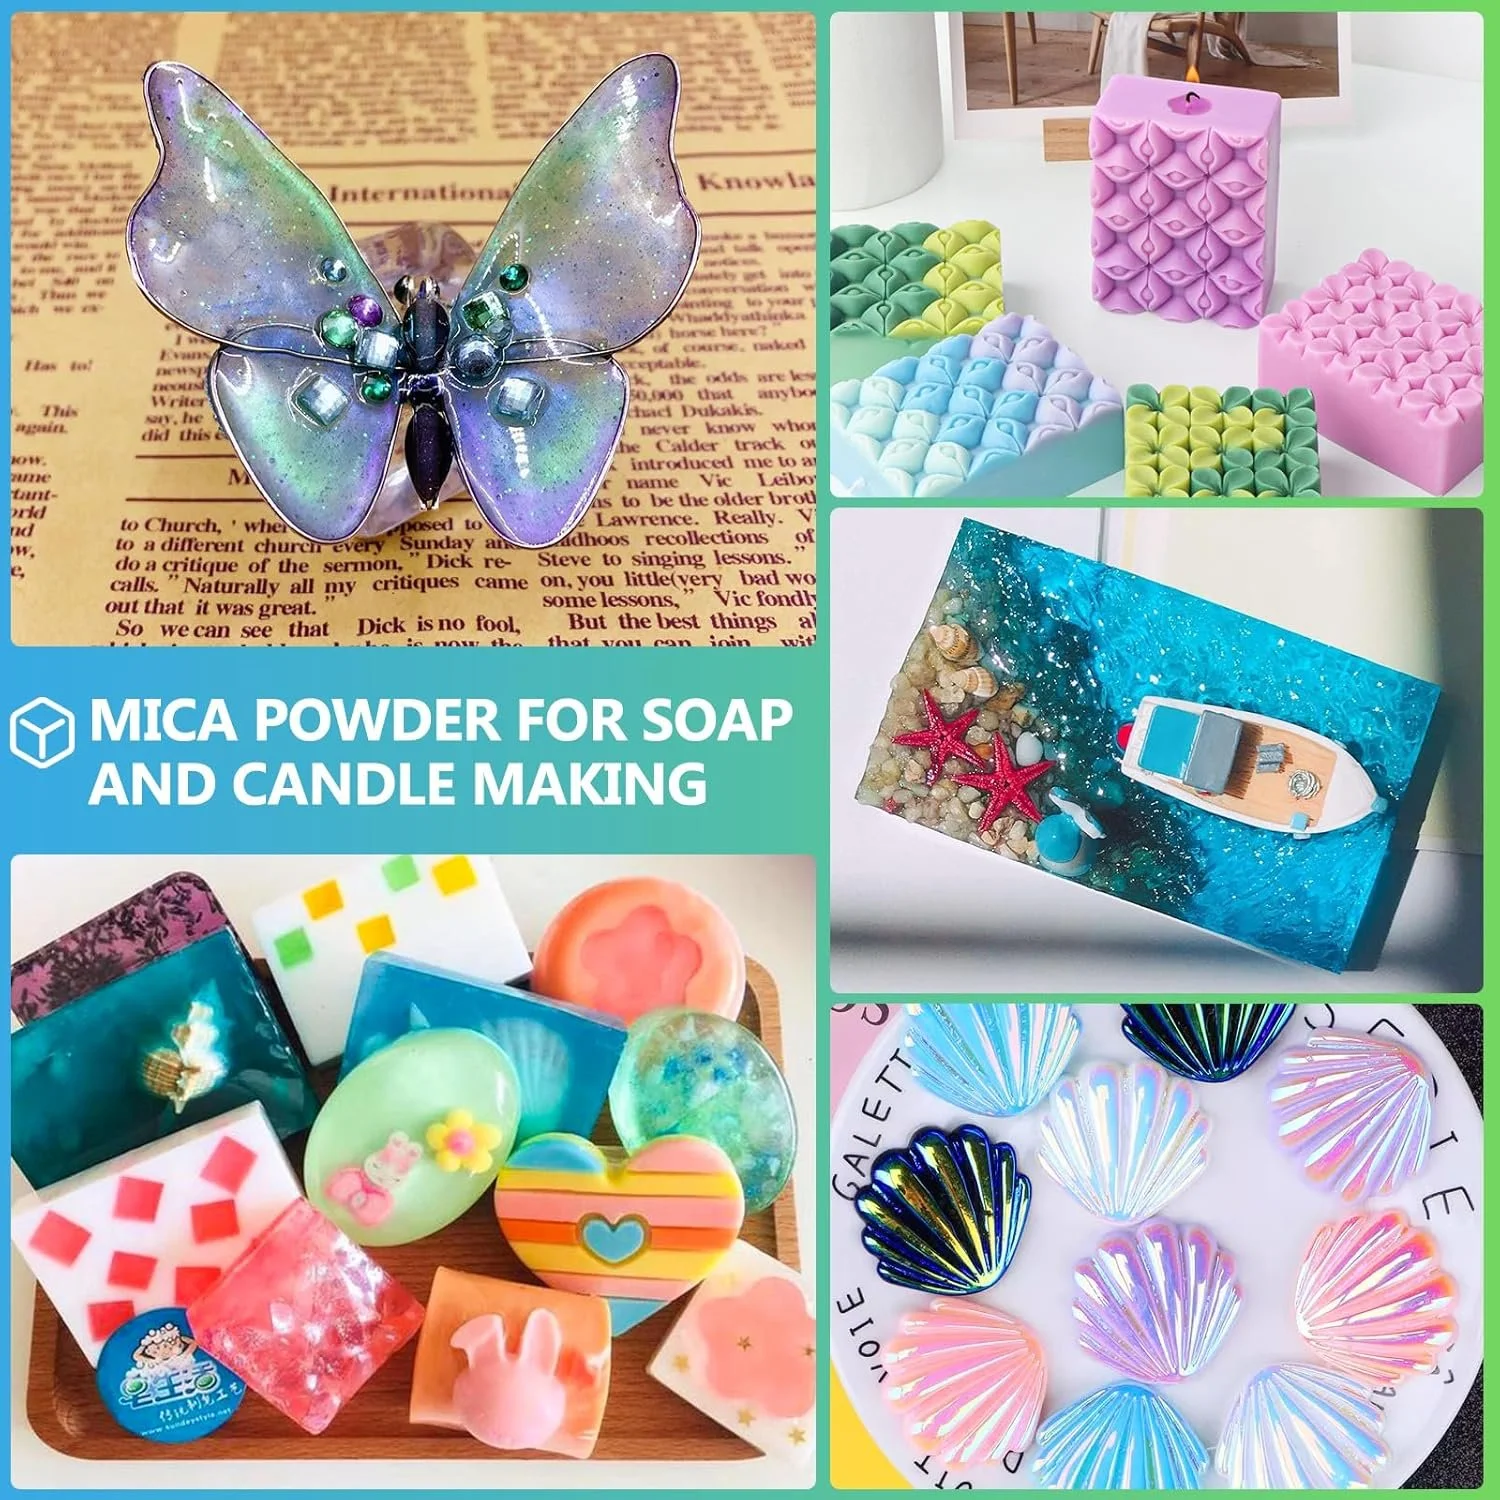
Flower Petals or Additives
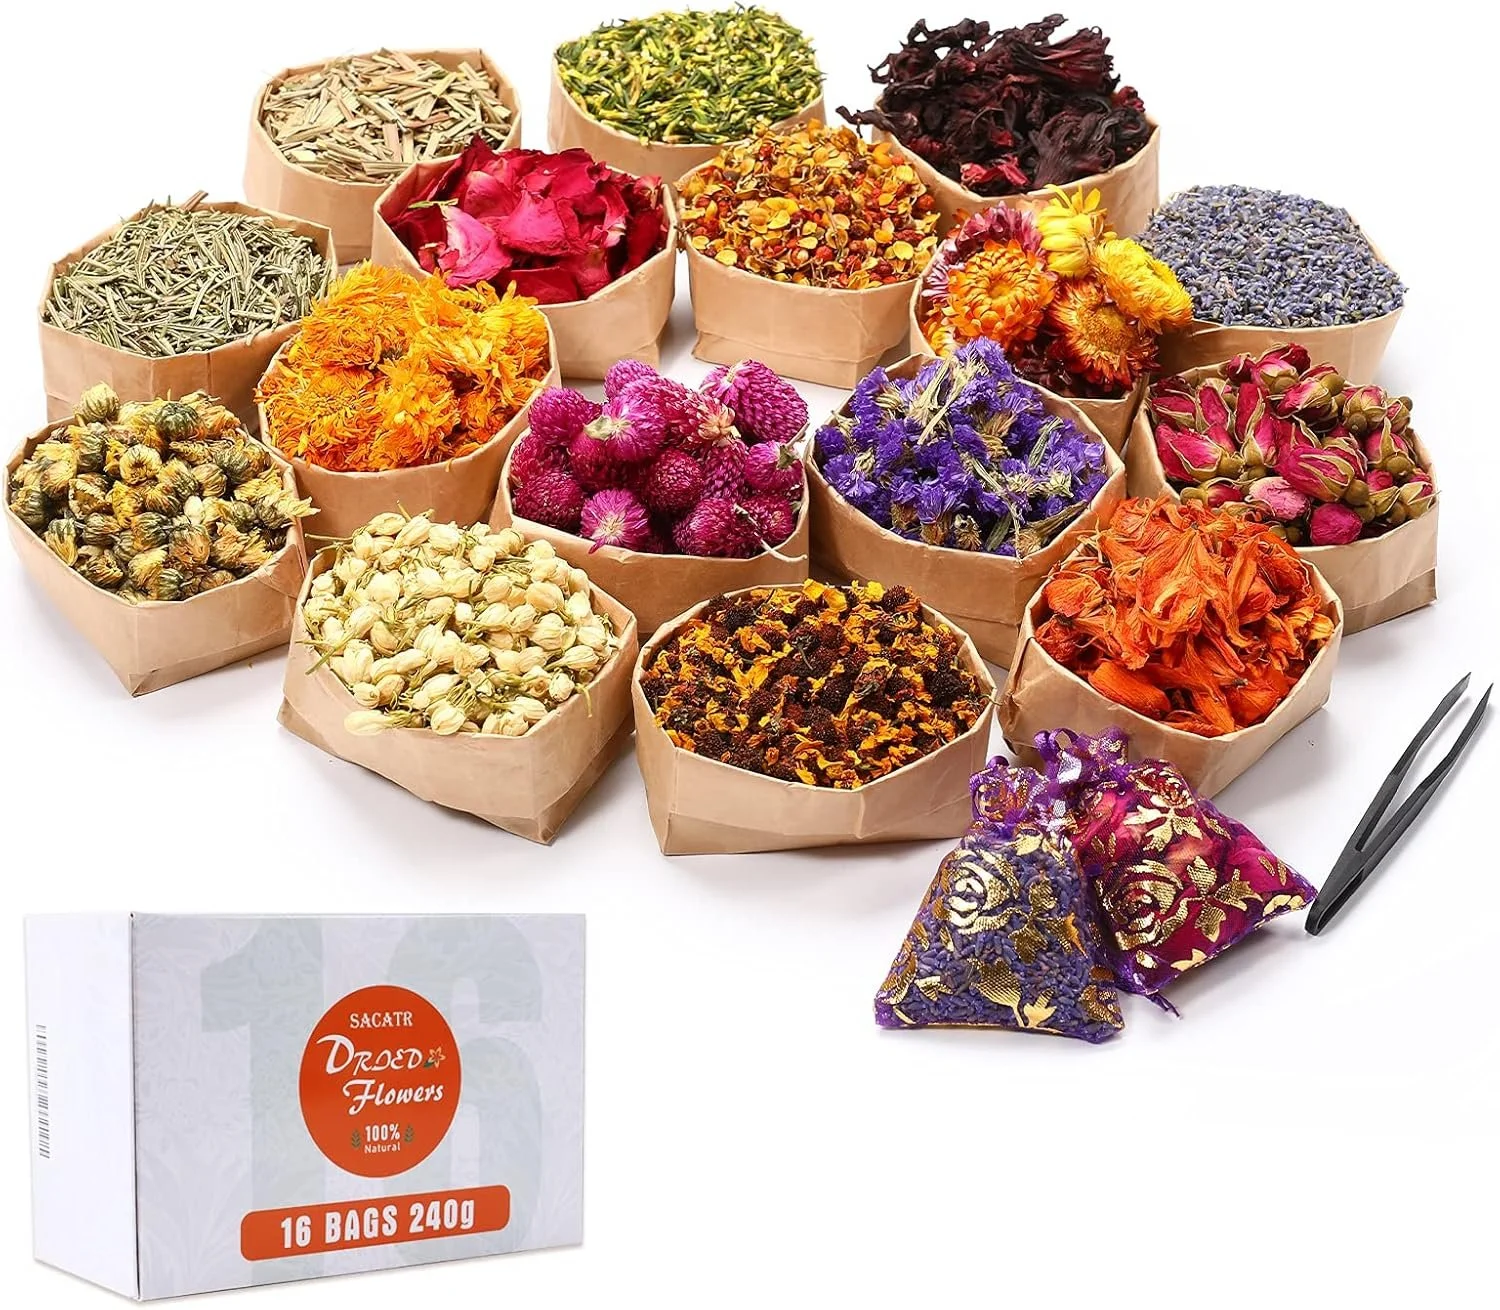
Flower petals are an additive that you can add to candles to increase their aesthetic value!
Above is just an example of some you can purchase.
Click here for the flower petals to add to your candles!
Fragrance Oils
There are many different fragrance oils available to use.
Here is a link to a sampler pack if you are unsure about ordering from an individual company.
My absolute favorite scents are from Lone Star Candle Supply.
Click here for the link to Lone Star Candle Supply!
Lone Star Candle Supply has a very wide variety of products and scents to use, including remakes of brand names.
Sweet Grace (type)
Most that I have tried are very close to the brand-name scents. For example, Sweet Grace (type), Diva (type), and High Maintenance (type) are almost exact.

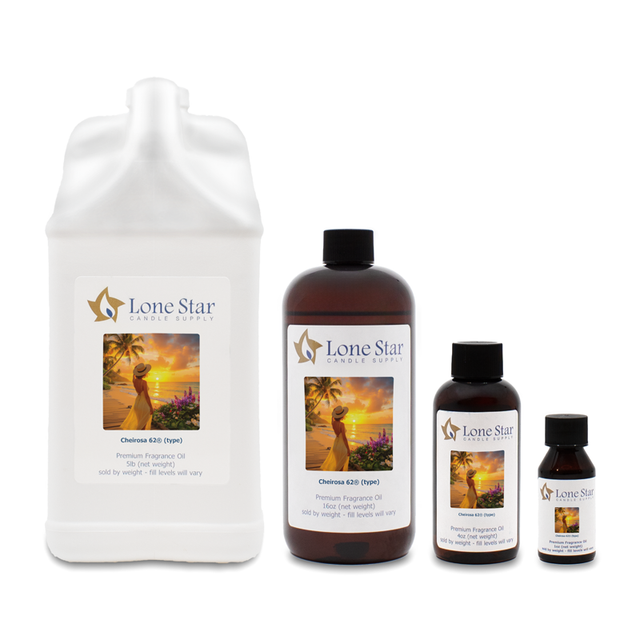
Lone Star Candle Supply also has remakes of Sol de Janeiro scents!
Click here for the Lone Star Candle Supply website to receive $10 off your order!
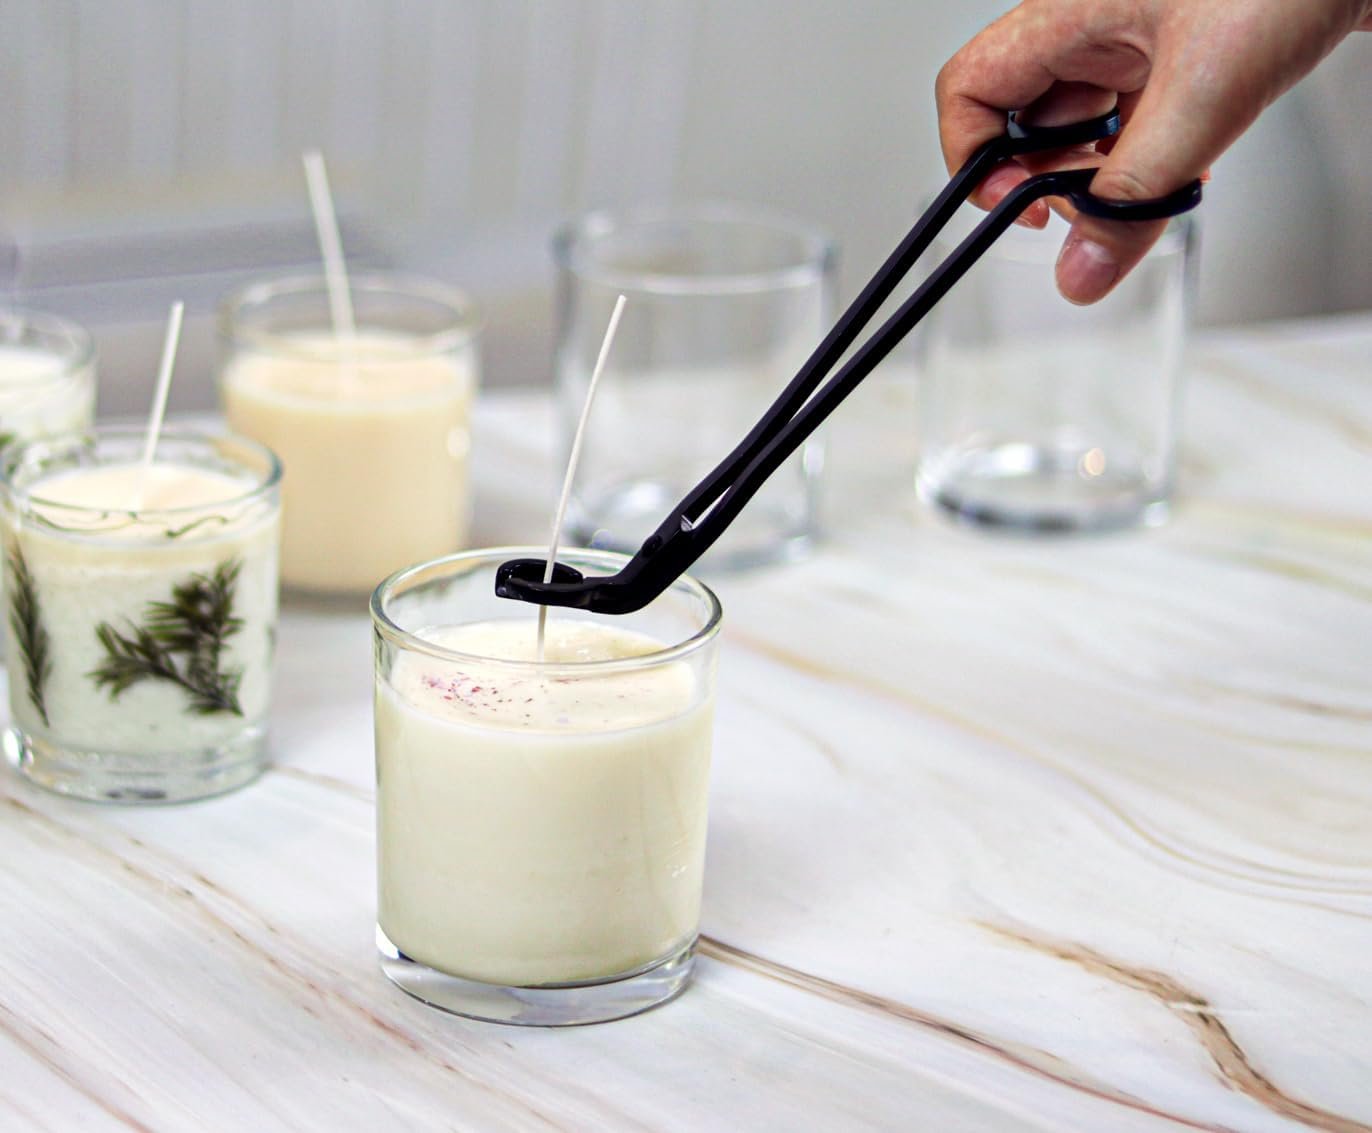
Wick clippers are also essential for cutting your wicks to the right lengths.
Unfortunately, scissors don’t do the job as well as wick cutters.
STEP-BY-STEP INSTRUCTIONS
1️⃣ Prep Your Container
Secure the wick to the center of the jar using a wick sticker or hot glue. Depending on the size of the container, you may put one to four wicks per container. In a small container, like a 4 oz jar, I typically only put one wick. However, for 8 oz and above, I typically do two. You want your candles to burn evenly and not tunnel. One surefire way to ensure you have the right amount of wicks for your jar is to create a sample or test one and do a test burn.
2️⃣ Measure the Wax
To measure the wax, I typically play it by ear and scoop it from a large bag of wax in 1/2 cup increments straight into my 4 cup glass measuring cup. For a 16oz candle (2 cups), it typically takes 4 cups of dry wax flakes to produce. For my 4oz candles, it typically takes about of cup of dry flakes or beads. Basically, double the dry amount to get the correct wet or melted amount.
3️⃣ Melt the Wax (Microwave)
Microwave on high for 30 seconds. Take into consideration that every microwave is different, though.
Stir, then continue microwaving in 30-second intervals, stirring each time.
Wax is ready when fully melted and clear (usually 1½–4 minutes total). The amount of time typically varies depending on the amount of wax in your measuring cup. It usually takes me anywhere from 3 to 4 minutes to melt at least 2-4 cups of dry flakes. From 3 minutes, I continually go into 30-second intervals until fully melted.
After the wax is melted, be sure to use a hot pad or towel to remove the glass measuring cup from the microwave. It will burn you! I learned the hard way.
Insert the digital thermometer to ensure your wax is at least 185 degrees if you are going to add stearic acid. Once you add stearic acid, the wax tends to cool several degrees, bringing the wax to about 180 degrees. From there I add my fragrance to smell and dye and mix. To mix, you can use a popsicle stick, spatula, or even your thermometer. For strong candles, I use about 1 oz to a 16 oz candle. However, you may use less than this, depending on the strength of the scent and how strong you personally want your candle's scent to be. Use an eyedropper to add more fragrance oil to your wax as pouring it straight from the container can get messy and hard to control. The ideal temperature for your the wax to take in fragrance is from 180-185 degrees. After adding all of the additives, your wax will most likely be significantly cooler than before.
⚠️ Use caution—melted wax is very hot.
4️⃣ Pour the Candle
Once your wax is between 120-145 degrees you may slowly pour melted wax into your prepared jar. The ideal pour is between 130 and 135 degrees. If the wax is too cool, it will leave more residue in the measuring cup.
Leave about ½ inch of space at the top.
Make sure the wick stays centered. To do this I take my popsicle sticks and place them on each end of the wicks, like north and south or as the popsicle sticks acting as a bun to the wicks the patty. From there, I clip the clothespins snugly onto the wick, perpendicular to the popsicle sticks, enabling them to stay snuggly in their place.
5️⃣ Let It Set
Allow the candle to cool and harden undisturbed for 1–2 hours.
Do not move the candle while it sets to avoid cracking.
6️⃣ Trim it
Once fully cooled, trim the wick to ¼ inch.
7️⃣ Smooth it Out & Finish
If the candle is not even on top or bubbling occurs, take the heat gun and melt the top layer of wax. You may have to repeat this several times to get a perfectly smooth finish.
Your candle is ready to enjoy! I typically wait a couple days before I burn them to let the fragrances properly bind to the wax.
*Experts say that candles and wax melts should be given a time bind. The shortest amount of time to set is between 24 and 48 hours after the pour. However, it is best to wait several days to a couple of weeks before the burn. *
I hope this post was helpful, and follow to see more! Happy candlemaking!